
Tags
Tags – CRM Module
The Tags section in the CRM module introduces a flexible system for highlighting and classifying clients and patients with visual markers. Tags can be applied across the system to improve client identification, streamline reception workflows, and provide additional context in the schedule view. This feature helps staff quickly identify special attributes of a client, such as VIP status, outstanding payments, membership type, or other clinic-defined markers.
1. Navigation
Tag List: Directories > Tags
Tag Creation: Directories > Tags > +Create record
Tag Card: Directories > Tags > Click on Tag name
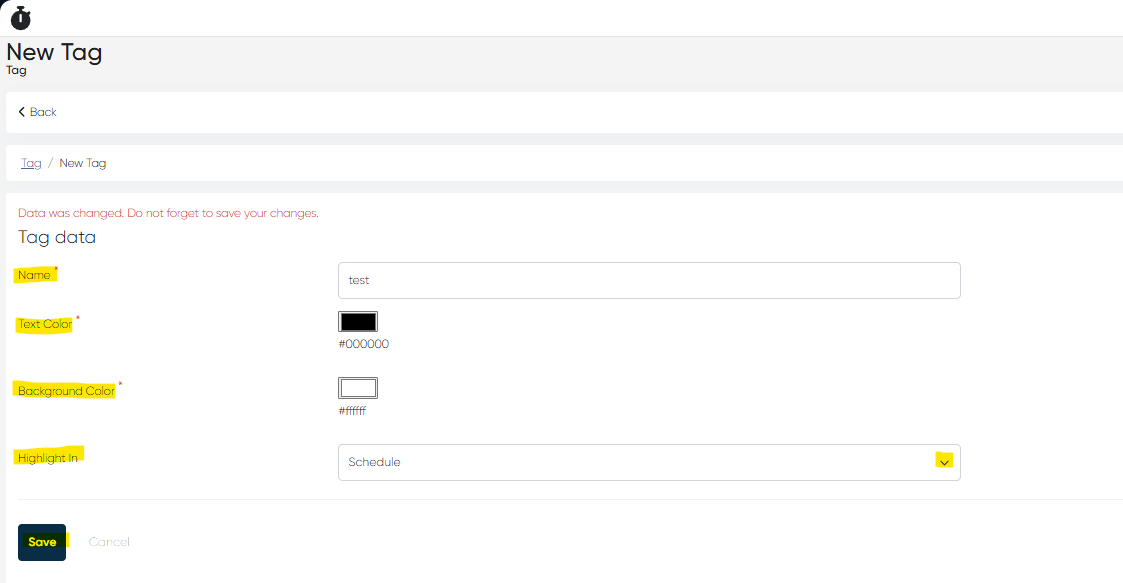
2. Creating Tags
To create a new tag:
Go to Directories > Tags and click +Create record.
Fill in the required fields (all mandatory):
Name – Title of the tag (e.g., “VIP”, “Debt”, “Insurance A”).
Text Color – Font color displayed on the badge.
Background Color – Badge background color.
Highlight In – Choose where the tag is displayed: Reception, Schedule, or both.
Once saved, the tag will appear in the Tag List and can be assigned to clients.
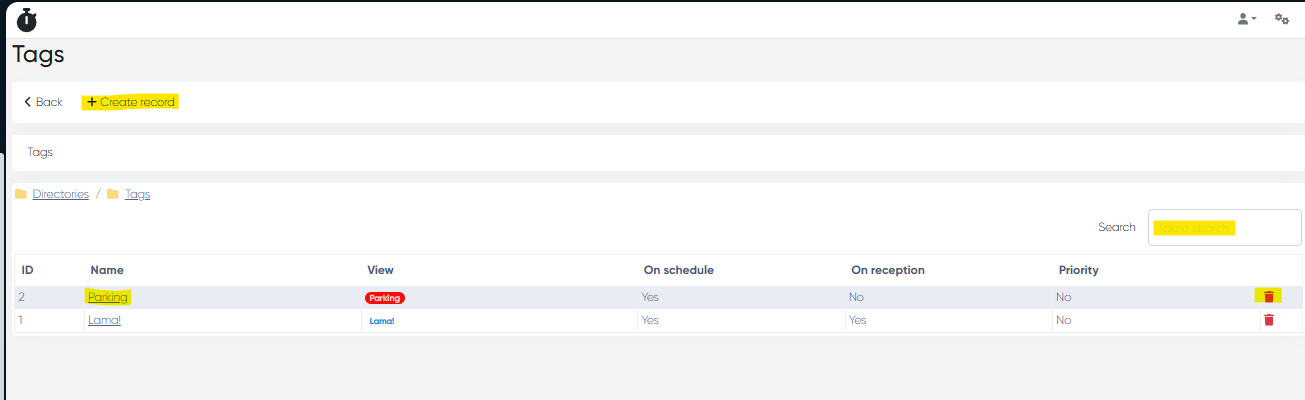
3. Viewing and Editing Tags
Tag List: Shows all created tags in a table with the following columns:
ID
Name
On Schedule (Yes/No)
On Reception (Yes/No)
Priority (Yes/No)
Delete (trash icon)
Search Bar: Quickly locate a tag by name.
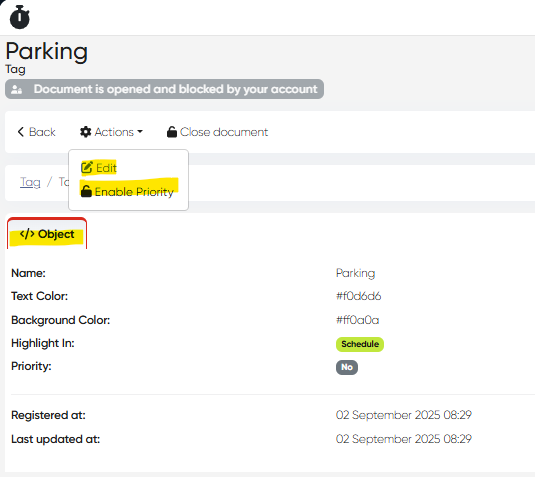
Tag Card: Clicking a tag name opens its detail card. Available actions:
Edit – Change tag properties (colors, highlight settings).
Enable Priority – Marks the tag as the one used for appointment highlighting when multiple tags exist.
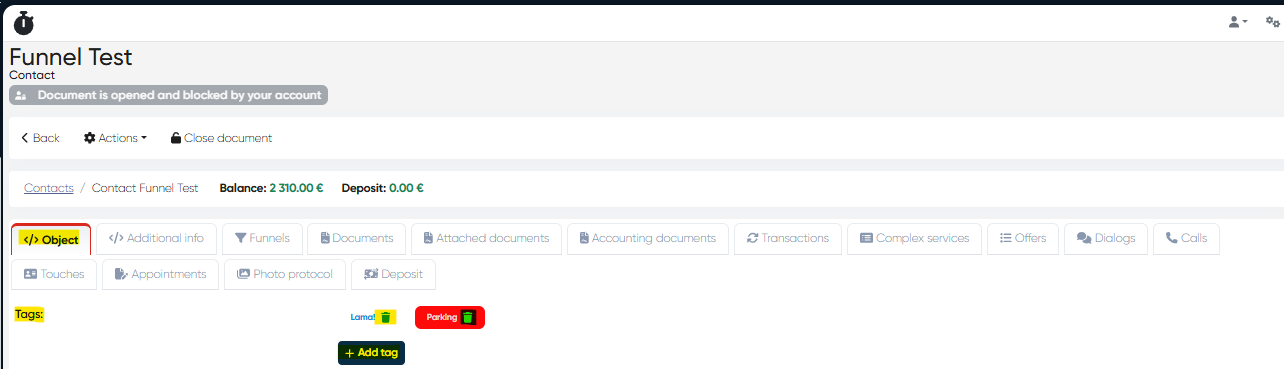
4. Assigning Tags to Clients
Tags can be assigned directly in the Client Card.
A client may have multiple tags, but only one tag can visually highlight the appointment background in Reception or Schedule.
Priority defines which tag is dominant if several are assigned.

5. UI Implementation
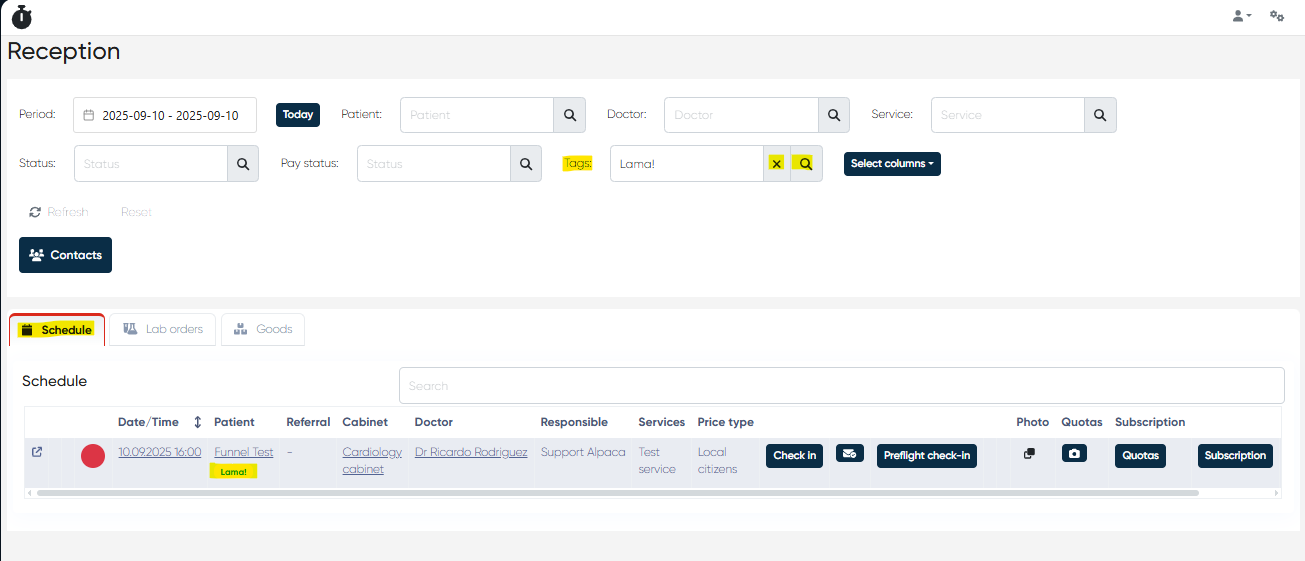
Reception Module:
Tags appear as badges under the client’s name.
Multiple tags stack visually, showing color codes.
The priority tag highlights the appointment background if enabled.
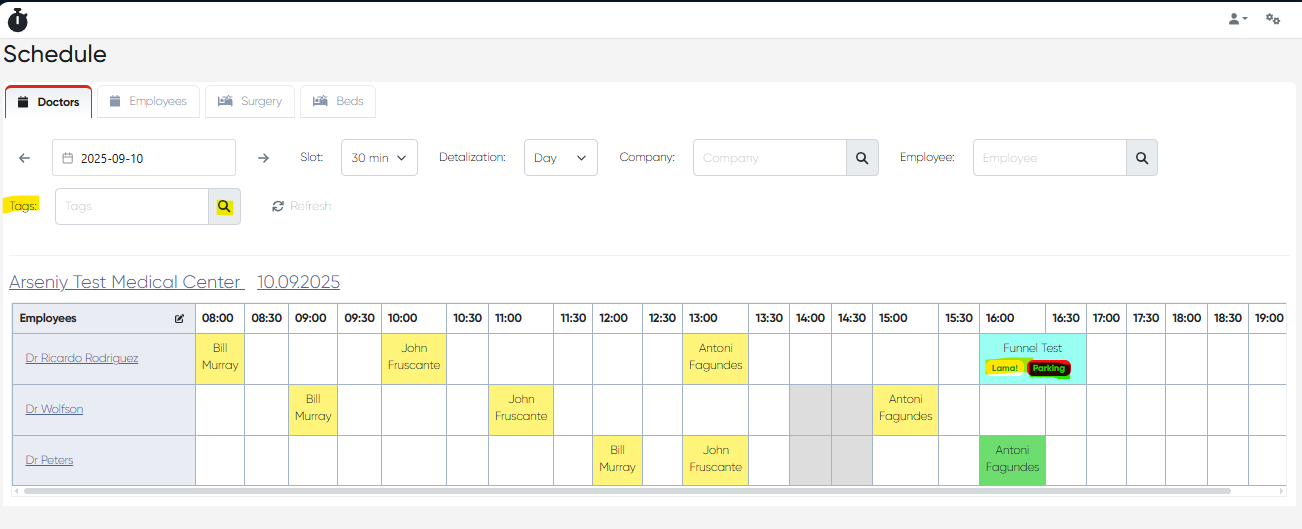
Schedule Module:
If the schedule is set to show client names, the same badges are displayed next to appointments.
Only the priority tag can affect appointment background color.
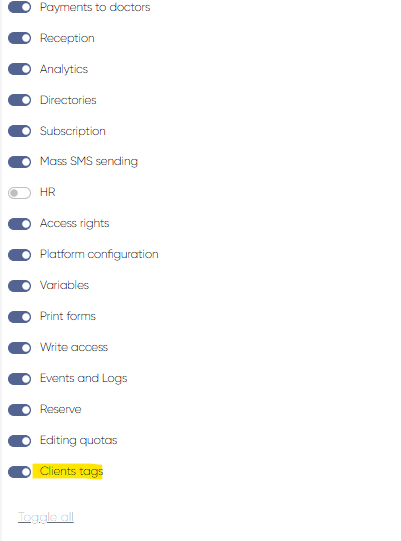
6. Permissions
Navigation: Settings > Administrators > Choose Admin > General Access Rights > Client Tags toggle
Only users with appropriate permissions can:
Create, edit, or delete tags.
Assign/unassign tags to clients.

7. Filtering and Search
Tags can be used as filters in both the Reception and Schedule modules.
Staff can search and filter by tag attributes to quickly identify relevant clients.
Summary: Tags in the CRM module provide a powerful classification tool, improving visibility and personalization of patient management. With customizable badges, color coding, and role-based access, the tagging system ensures that critical client attributes are always visible to authorized staff.