
Print forms editor
Navigation: Directories>Print forms>Create record or Directories>Print forms>Select one of the pre-saved forms>Actions>Edit
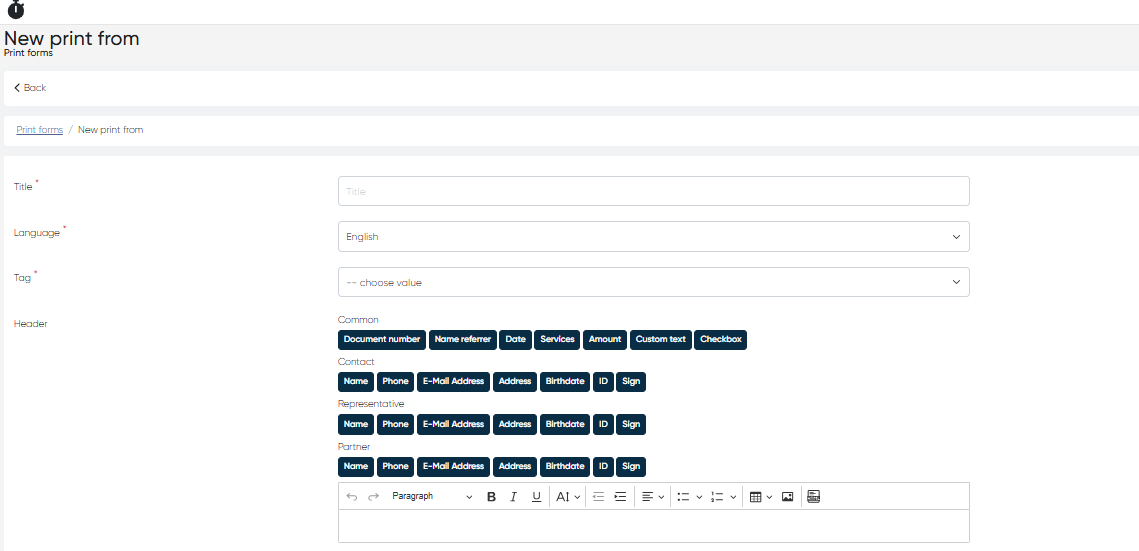
The Print Forms Editor allows users to create, edit, and manage custom document templates used throughout the clinic – such as service contracts, consent forms, and informed agreement forms. This flexible editor lets users build document layouts with dynamic patient, contact, and service-related fields using a simple, structured interface.
Key Components of the Print Forms Editor
The interface is divided into several main editable sections – Title, Language, Tag, Header, Print form body, and Footer, along with action buttons to save, cancel, or preview the print form.
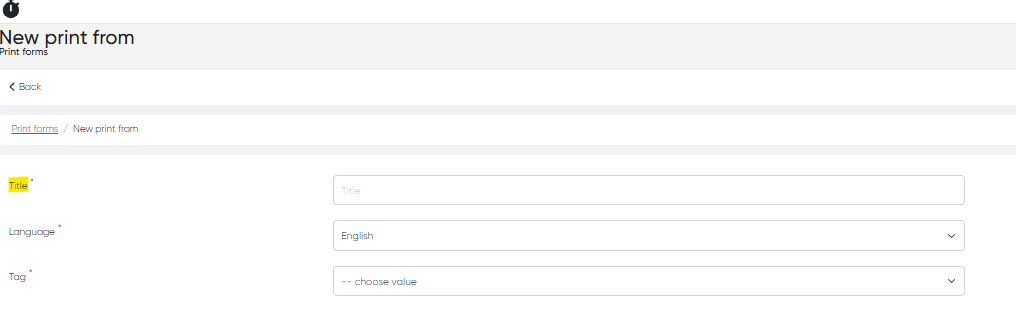
1. Title (Mandatory)
This is the name of the print form. It should be clear and descriptive, as it will appear in lists and selection menus throughout the system.
Example: "General Service Agreement", "Voluntary Consent Form"
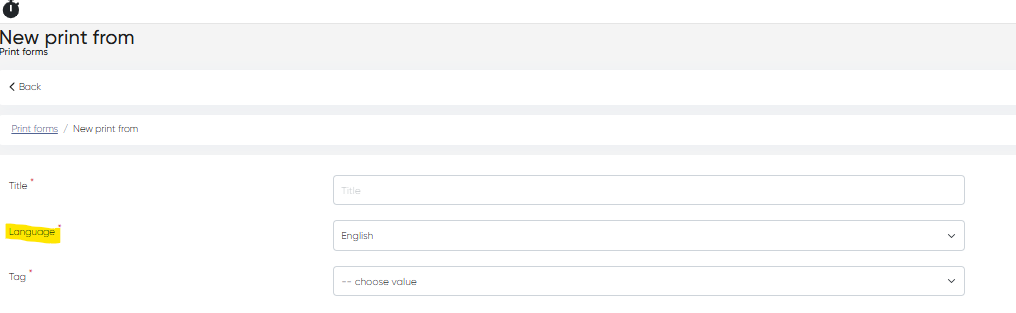
2. Language (Mandatory)
Select the language in which the form is written. This is crucial for multilingual clinics that offer documents in multiple patient languages.
3. Tag (Mandatory)
Choose a tag from predefined categories that describe the form's purpose. Tags help categorize documents and enable quick selection when printing or assigning templates.
Examples:
Service Contract,Voluntary Consent of the Patient,Insurance Agreement

4. Header Editor
The header section is used to define content that appears at the top of every printed document.
Toolbar – Add Elements to the Header:
Common Elements:
Document Number
Referrer Name
Date
Service
Amount
Custom Text
Checkbox
Contact Fields:
Name, Phone, Email Address, Address
Birthdate, ID, Signature
Representative Fields (e.g., for minors or dependent patients):
Name, Phone, Email Address, Address
Birthdate, ID, Signature
Partner Fields (e.g., insurance, affiliated institutions):
Name, Phone, Email Address, Address
Birthdate, ID, Signature
Formatting Panel:
A standard rich text formatting bar allows for styling (bold, italics, underline), alignment, font sizes. You can also add the image and HTML element here. This makes it easy to match the clinic’s branding and formatting standards.

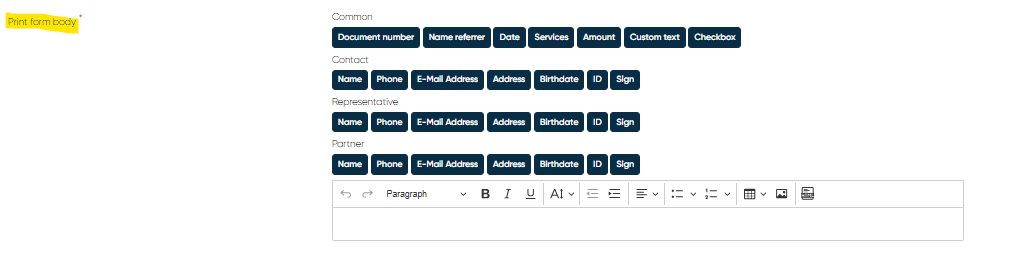
5. Print Form Body Editor (Mandatory)
This is the main content area of the document – typically used for legal text, consent statements, terms of service, and patient declarations.
Toolbar – Add Elements to the Body:
(Same as in Header Editor)
Common, Contact, Representative, and Partner field insertion
Custom text and checkbox options for patient initials or consent boxes
Formatting Panel:
A standard rich text formatting bar allows for styling (bold, italics, underline), alignment, and font sizes. You can also add the image and HTML element here. This makes it easy to match the clinic’s branding and formatting standards.
A full-text editor is available to craft and style the document body content. You can insert placeholders from the toolbar to auto-populate patient and service data at print time.
Tip: Use dynamic fields (e.g., {Patient Name}, {Service}, {Date}) to create reusable templates for all appointments.
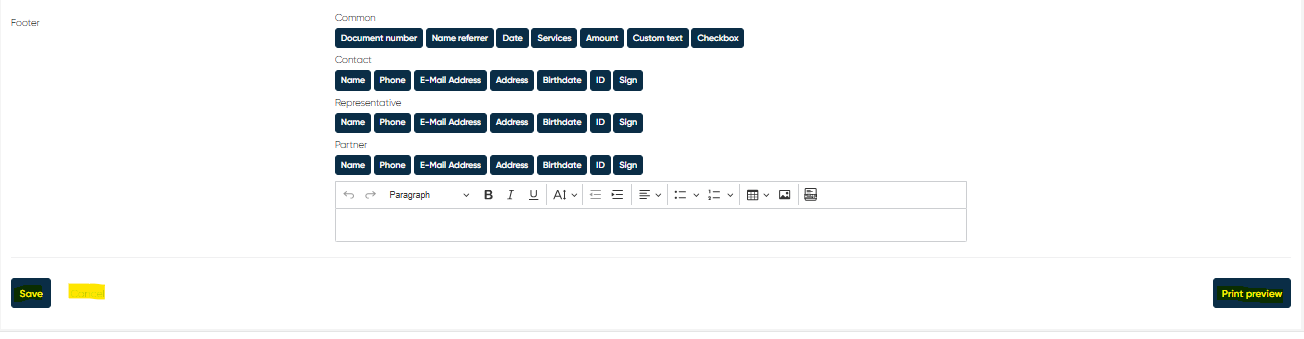
6. Footer Editor
The footer section allows you to add signature areas, legal disclaimers, or follow-up instructions that should appear at the end of every document.
Toolbar – Add Elements to the Footer:
(Same fields and format as Header/Body editors)
Common patient/service details
Representative or partner details
Signature fields or checkboxes
Formatting Panel:
Just like the other sections, the footer includes a rich text editor for styling and layout adjustments.

Action Buttons
At the bottom of the editor, the following buttons are available:
Save – Saves the current print form. All mandatory fields must be filled in.
Cancel – Discards changes and returns to the previous screen.
Print Preview – Opens a preview window where you can see how the form will look with example data. This is highly recommended before finalizing templates.
Summary
The Print Forms Editor enables your clinic to maintain consistency, accuracy, and professionalism in all printed documents. By using dynamic data fields, formatting tools, and preview options, you can create customized and compliant forms for all patient interactions.