
History
EHR Module – History (Medical Document) Section
The History section provides a comprehensive overview of the patient's medical journey by aggregating all key information from past visits. This section enables doctors to efficiently review, track, and reference the patient's complete medical background.
Access Path
To open the patient's medical history:
Navigate to Directories > Employees
Select the desired Doctor
Click Actions > Open Doctor's Cabinet
In the Doctor’s Cabinet, select the Patient
Open the Medicine tab
Click on the History section
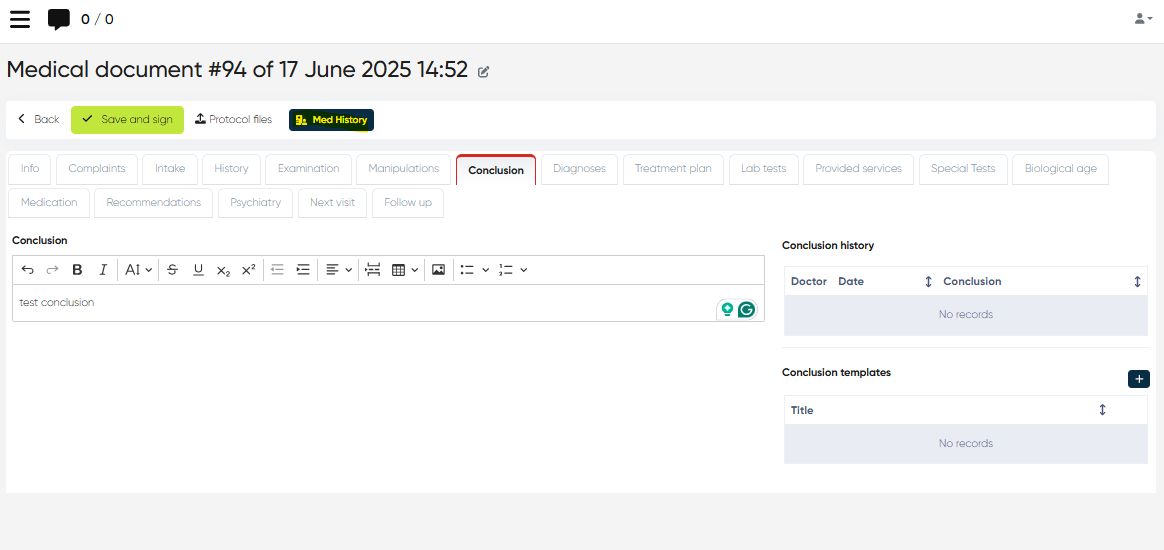
Alternatively, the patient’s medical history can also be accessed directly from any Medical Document via the History button in the document menu.
Tabs Overview
The History interface is organized into the following tabs, each aggregating related data across all of the patient’s visits:
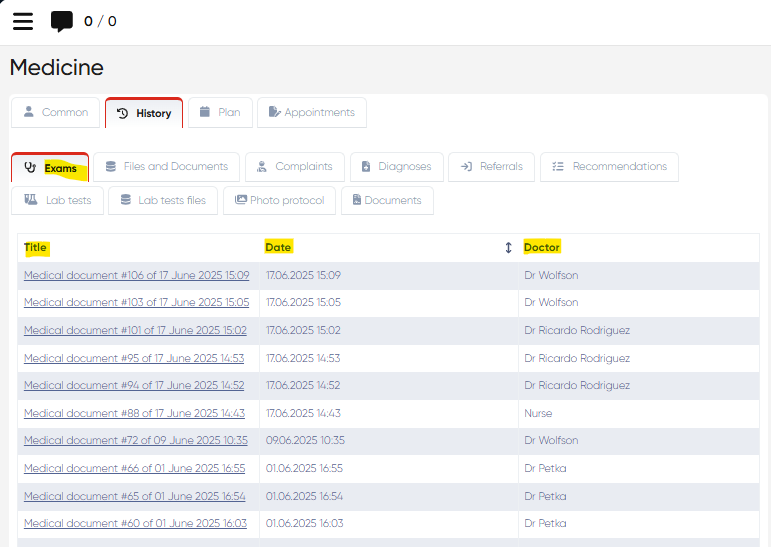
1. Exams
Displays a table listing all Medical Documents created for the patient.
Columns:
Title – Name of the document
Date – Date of creation
Doctor – Attending physician
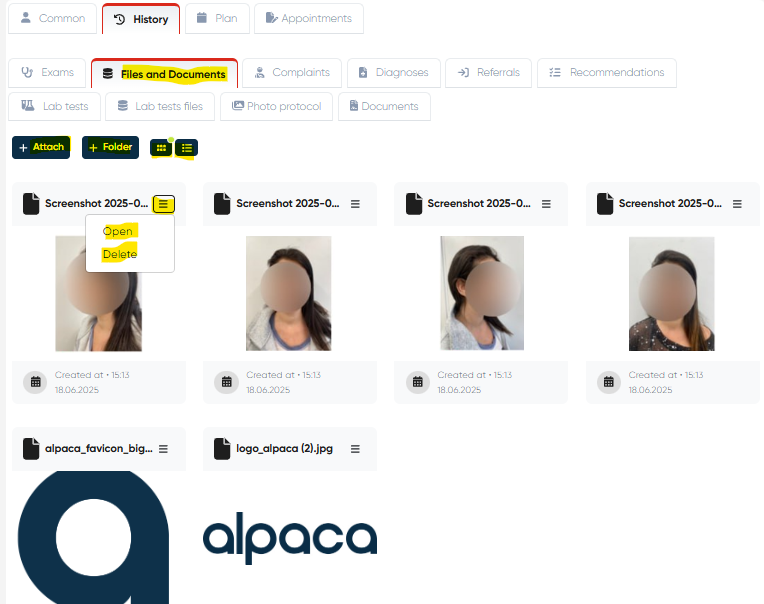
2. Files and Documents
Shows all attached files and photos related to the patient.
Available Actions:
Attach – Upload a new file
Add Folder – Organize attachments into folders
List View / Icons View – Toggle display mode
For each file:
Open
Delete
Multiple File Uploads in Files (History – Doctor’s Cabinet)
Navigation:Directories → Employees → Choose Doctor → Actions → Open Doctor’s Cabinet / Account → History → Files and Documents → +Attach
Overview
The Multiple File Uploads feature enhances the document management workflow within the Doctor’s Cabinet by allowing users to upload several files at once in the Files and Documents section under History.
This improvement significantly reduces administrative workload and streamlines the process of attaching supporting materials, test results, and other patient-related documents.
Functionality
Users can now attach multiple documents in a single action instead of uploading each file individually.
The uploaded files are automatically linked to the corresponding patient record and stored chronologically in the History section for easy retrieval and review.
Supported file types include commonly used clinical and administrative document formats such as PDF, DOCX, JPG, and PNG.
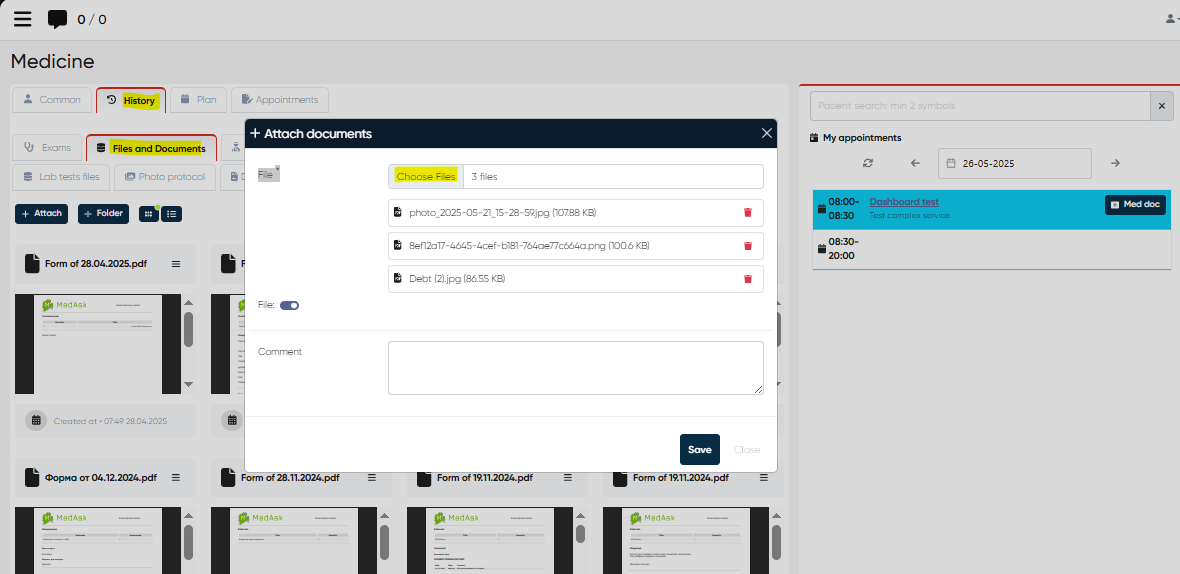
How to Upload Multiple Files
Navigate to Directories → Employees.
Select the relevant doctor and click Actions → Open Doctor’s Cabinet / Account.
Go to History → Files and Documents.
Click +Attach.
In the upload window, click Choose files.
Select multiple files from your computer (hold Ctrl or Shift to select several).
Confirm the upload — all selected files will appear in the list automatically once the upload is complete.
Benefits
Faster file management — attach several documents in one step.
Improved efficiency — minimizes repetitive manual uploads.
Better organization — all uploaded files appear in chronological order within the patient’s history.
Notes
The system validates file formats and size limits before uploading.
Upload progress is displayed in real time.
All uploaded files are stored under the doctor’s account and can be previewed, downloaded, or deleted according to user permissions.
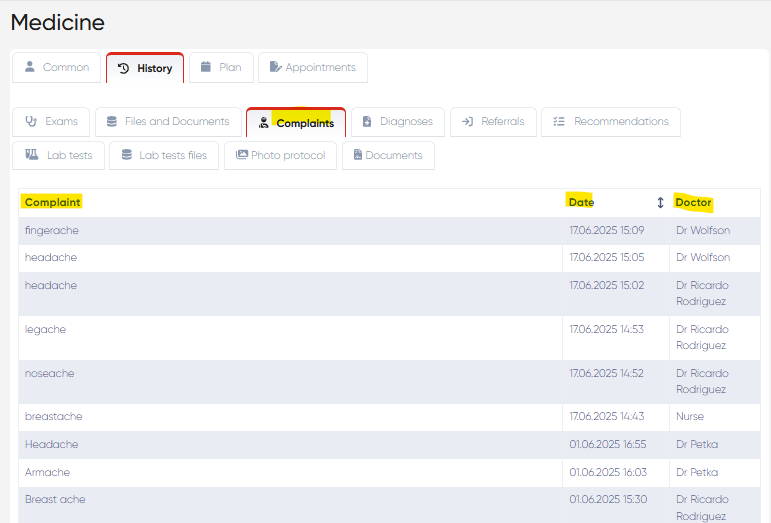
3. Complaints
Displays a consolidated table of all complaints recorded for the patient across visits.
Columns:
Complaint – Complaint description
Date – Date of entry
Doctor – Authoring physician
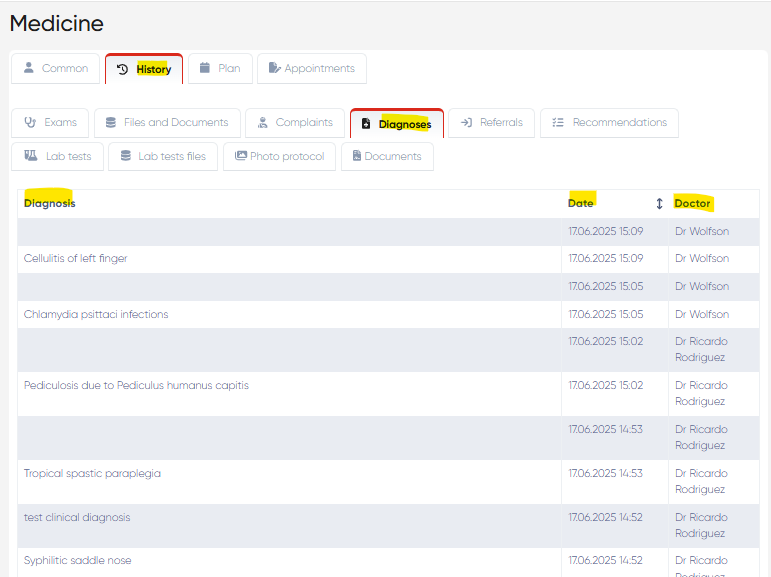
4. Diagnoses
Lists all diagnoses made for the patient.
Columns:
Diagnosis – Name or type of diagnosis
Date – Date diagnosed
Doctor – Attending physician
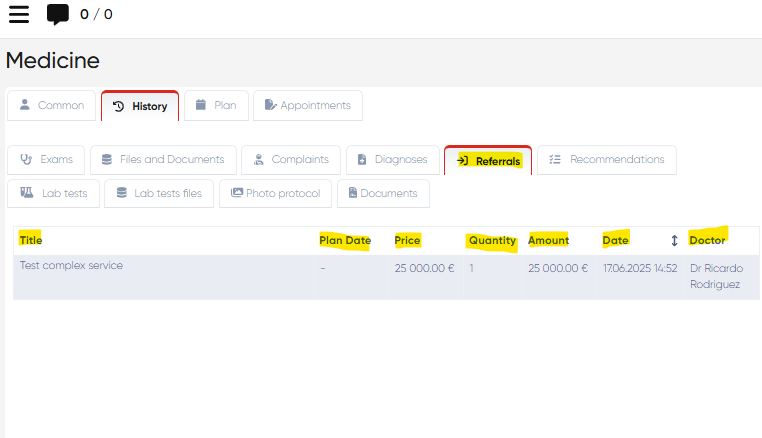
5. Referrals
Displays the history of all referrals issued to the patient.
Columns:
Title – Name or service referred for
Plan Date – Scheduled referral date
Price
Quantity
Amount
Date
Doctor
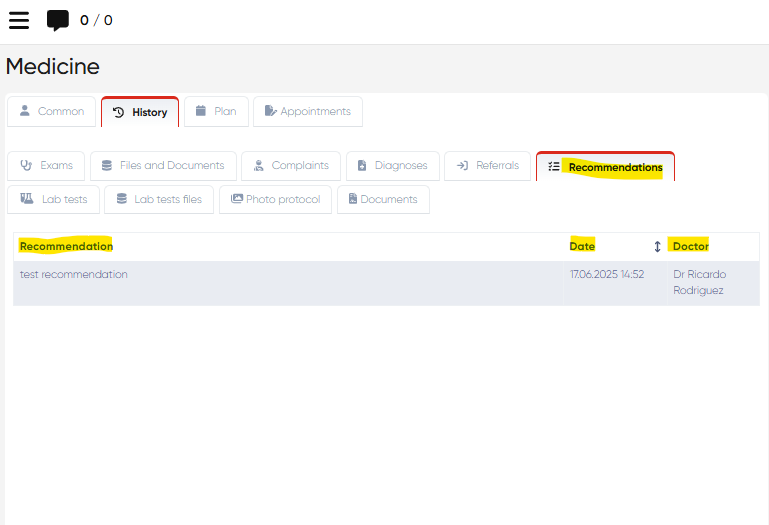
6. Recommendations
Lists all recommendations provided to the patient during visits.
Columns:
Recommendation – Text of the recommendation
Date – When it was provided
Doctor – Physician who issued it
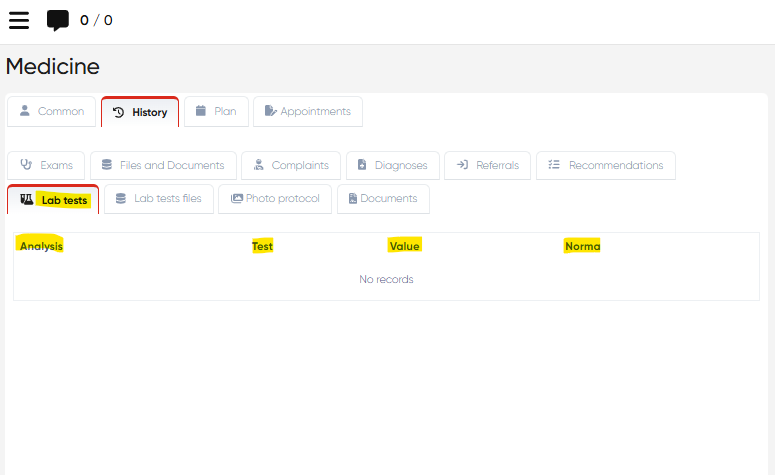
7. Lab Tests
Provides a list of all lab test results associated with the patient.
Columns:
Analysis – Name of the analysis
Test – Specific test performed
Value – Test result
Norma – Reference range or normal values
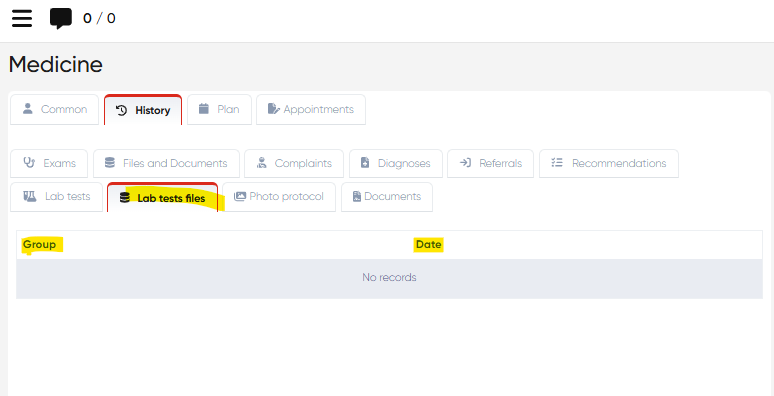
8. Lab Tests Files
Shows uploaded files associated with lab test results.
Columns:
Group – Category or type of test
Date – Upload or test date
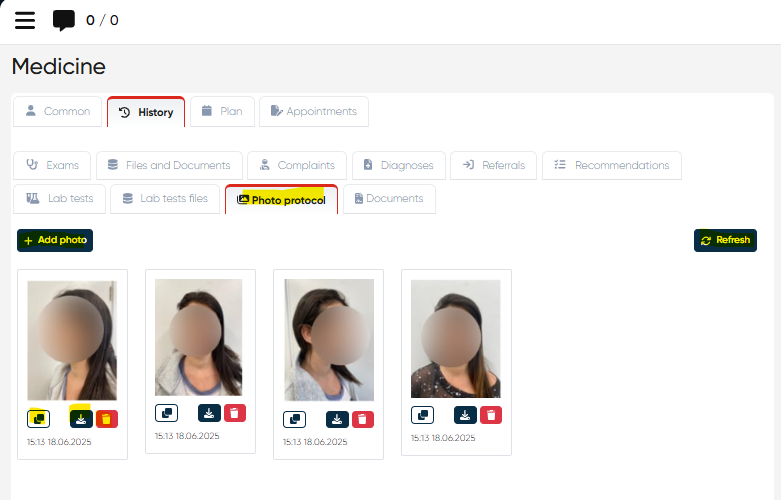
9. Photo Protocol
This section supports photo-based medical monitoring.
Available Actions:
Add Photo – Upload new images (supports multiple selection)
Refresh – Reload image list
Per Photo Options:
Comparison – View two images side-by-side
Download
Delete
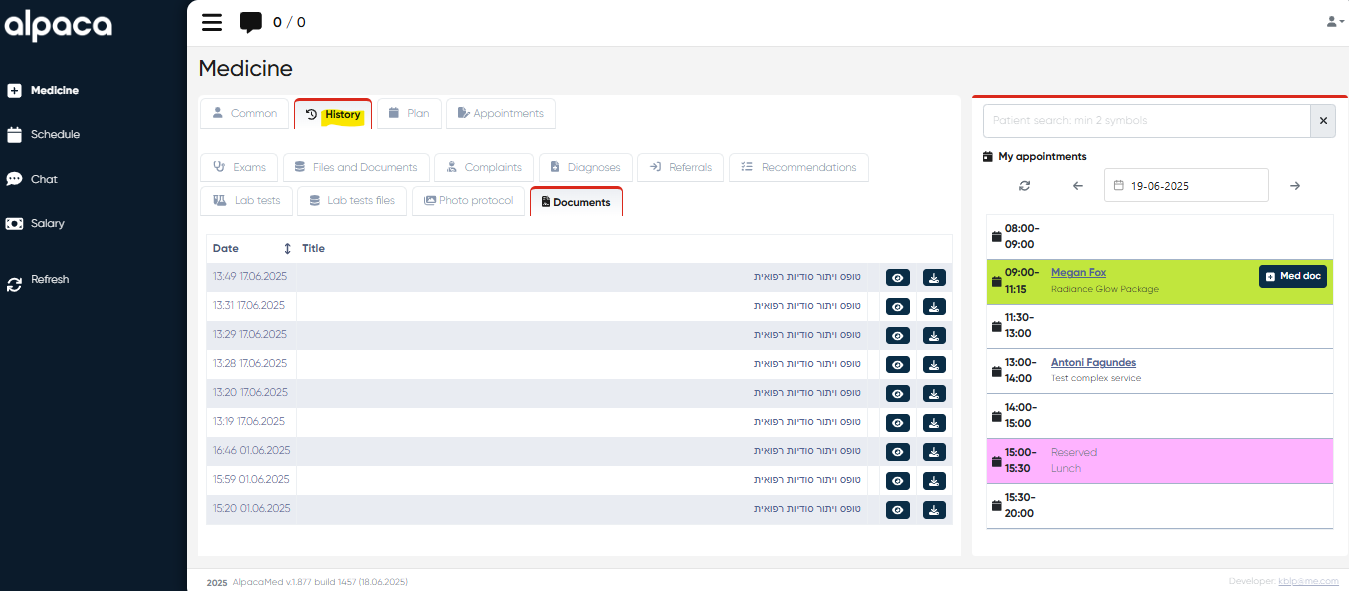
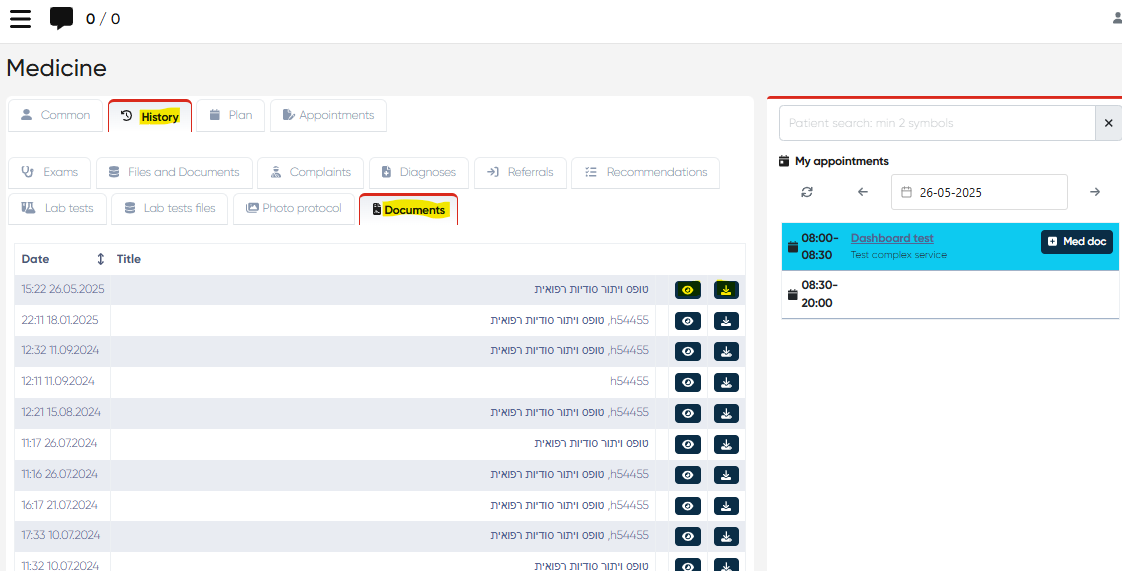
10. Documents
Lists various administrative and operational documents linked to the patient, with the ability to download and view each document:
Check-in documents
Consent forms (e.g., personal data processing)
Other internal documents
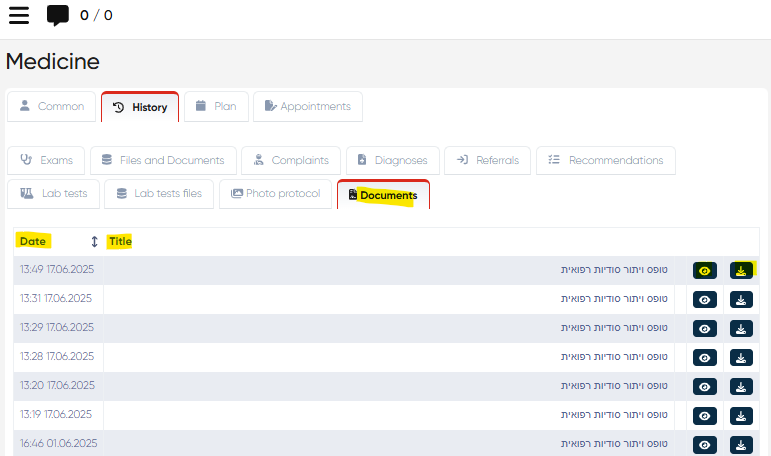
Signed Forms in Documents tab
Navigation:Directories → Employees → Choose Doctor → Actions → Open Doctor’s Cabinet / Account → History → Documents
Overview
The Signed Forms in History enhancement provides doctors with immediate access to finalized and signed patient documents directly within the History section of their cabinet.
This improvement ensures faster access to completed forms, facilitating efficient patient follow-up and comprehensive medical record review without needing to switch between multiple tabs.
Functionality
All forms that have been electronically signed within the Documents tab of the patient’s medical record are now automatically visible under the History → Documents section.
This integration allows physicians to:
Instantly view all signed documentation for the selected patient.
Print or download signed forms directly from the History view.
Maintain a clear and chronological overview of all finalized patient records.
How to Access Signed Forms
Navigate to Directories → Employees.
Choose the relevant doctor and click Actions → Open Doctor’s Cabinet / Account.
Open the History tab.
Select Documents to view all signed forms.
Use the available action buttons:
Preview / Print — click the button next to the document name.
Download — click the button to save a local copy.
Benefits
Centralized document access — all signed forms consolidated in one place.
Time-saving navigation — eliminates switching between tabs to locate finalized forms.
Improved continuity of care — ensures doctors have instant visibility of all signed patient materials during consultations.
Notes
Only forms signed and finalized in the Documents tab are included in the History view.
Permissions for viewing and downloading remain aligned with the user’s role-based access settings.
Newly signed documents appear in the History section automatically without manual refresh.
Usage Tips
Use the History section to quickly find patterns or reference prior clinical decisions.
Combine photo protocol with comparison view to monitor visible treatment progress (e.g., dermatology, aesthetic medicine).
File uploads can be used to centralize lab results, consents, and external reports for better decision-making.