
Google Calendar Integration in Doctor’s Cabinet
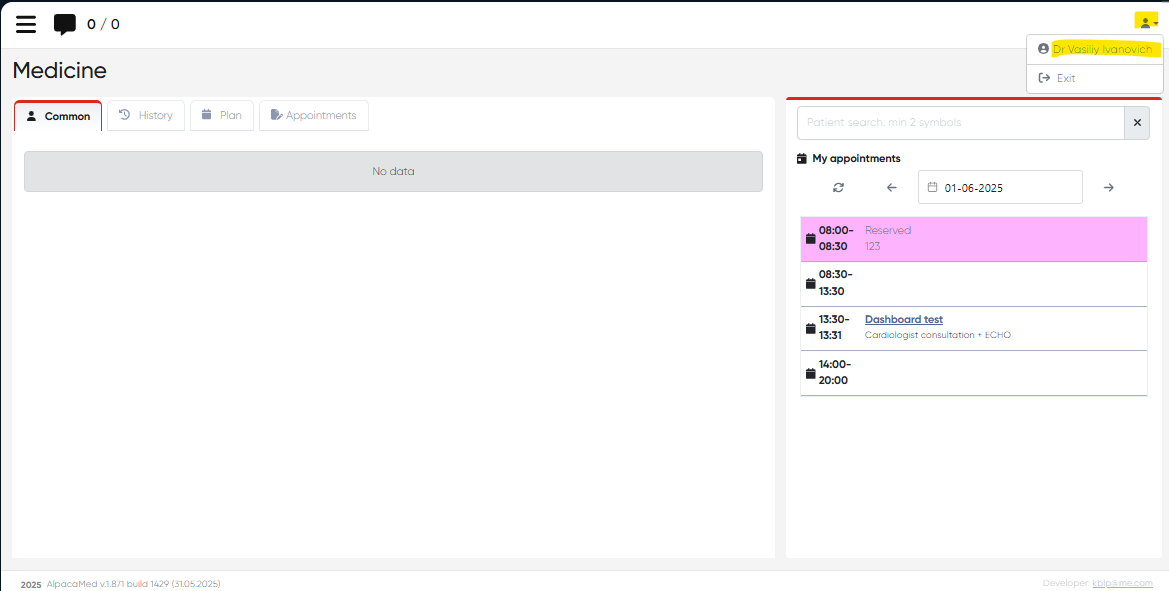
Navigation: Directories>Employees>Choose doctor>Actions>Open doctor’s cabinet>Profile>Google Calendar Sync
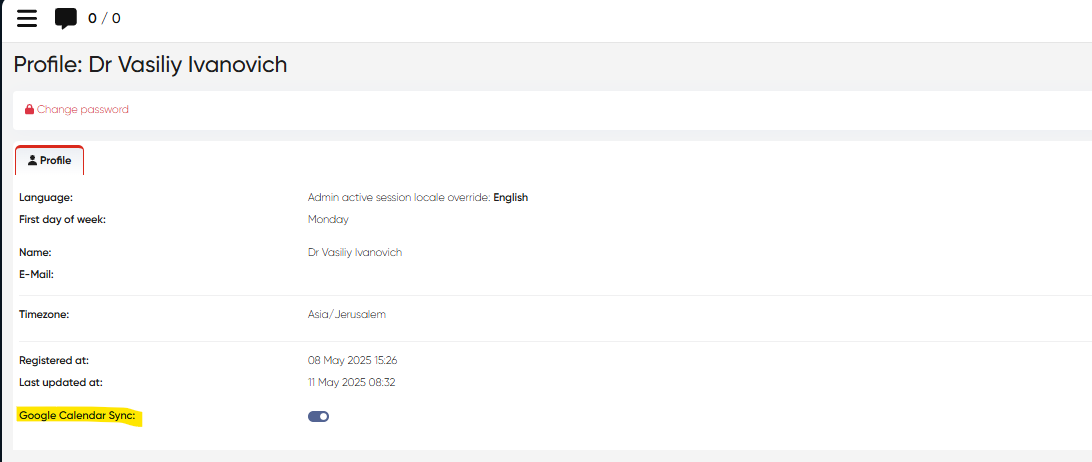
Introduced Google Calendar integration within the doctor's cabinet, allowing doctors to sync their clinic schedule with their personal Google Calendar. This ensures real-time visibility of appointments across platforms and helps prevent scheduling conflicts.
To sync the doctor’s clinic schedule and his Google calendar, it’s necessary to enable the corresponding option in the doctor’s cabinet. First, it’s necessary to open the Profile section in the doctor’s cabinet.
After that, it's needed to enable the Google calendar sync option.
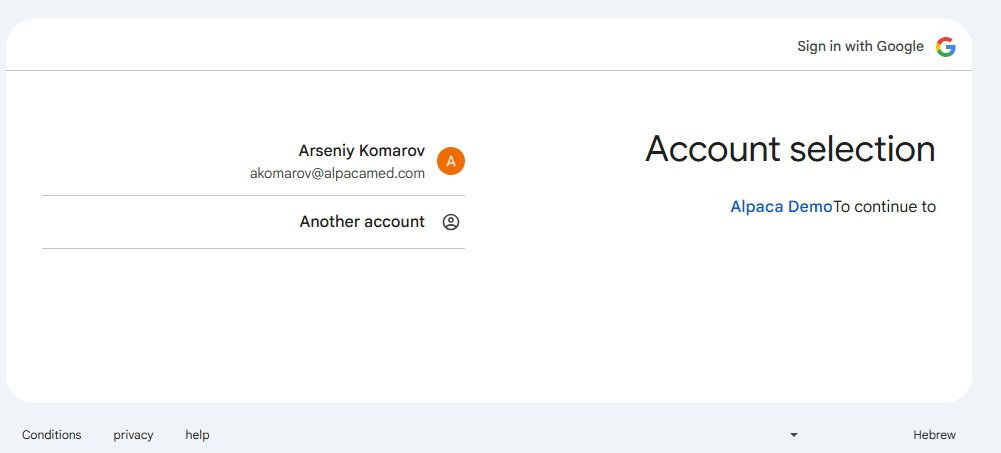
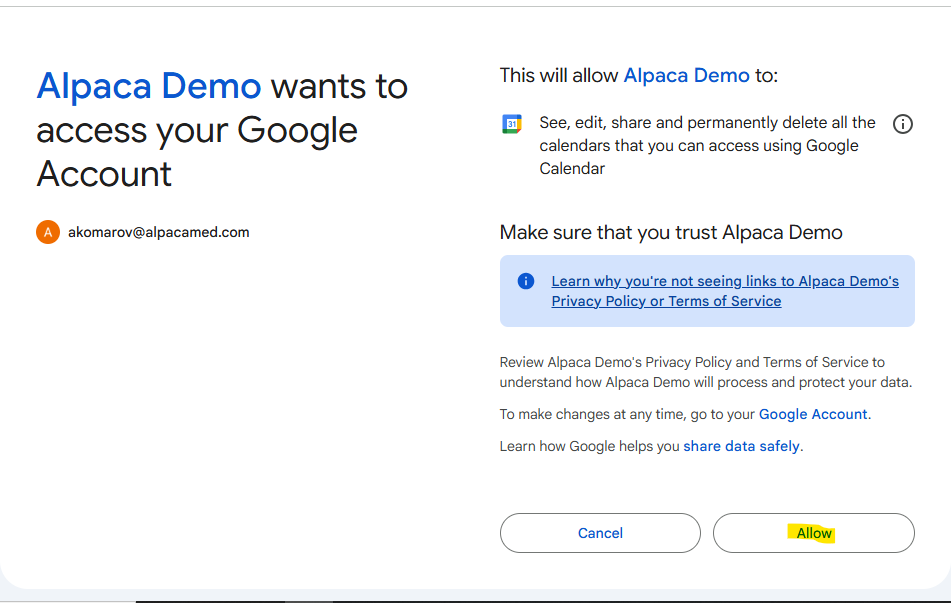
Then it’s needed to select the Google account for synchronization and Allow it.
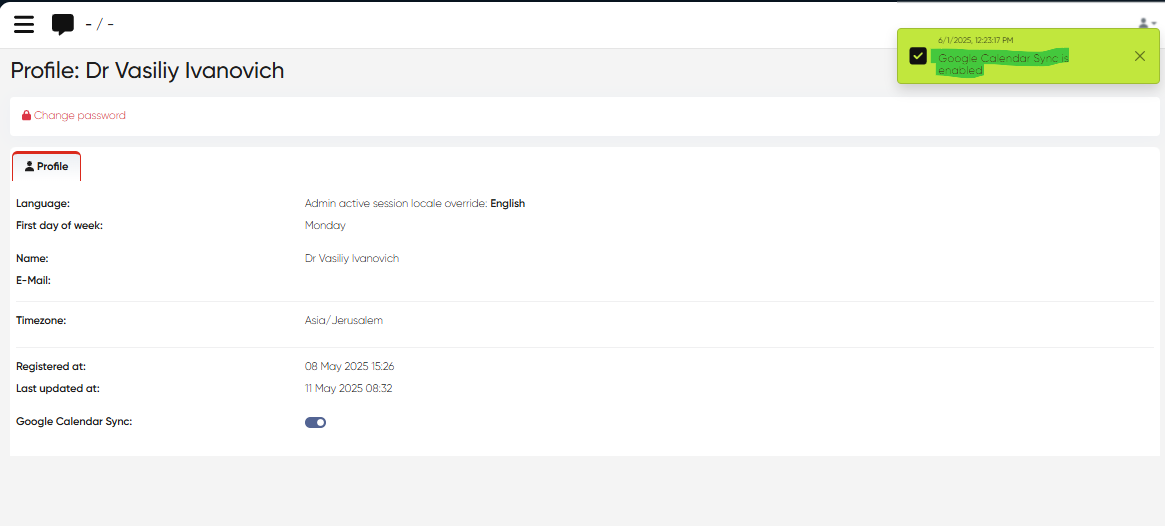
If all the process was successfully completed, the following message will be visible in the doctor’s cabinet.
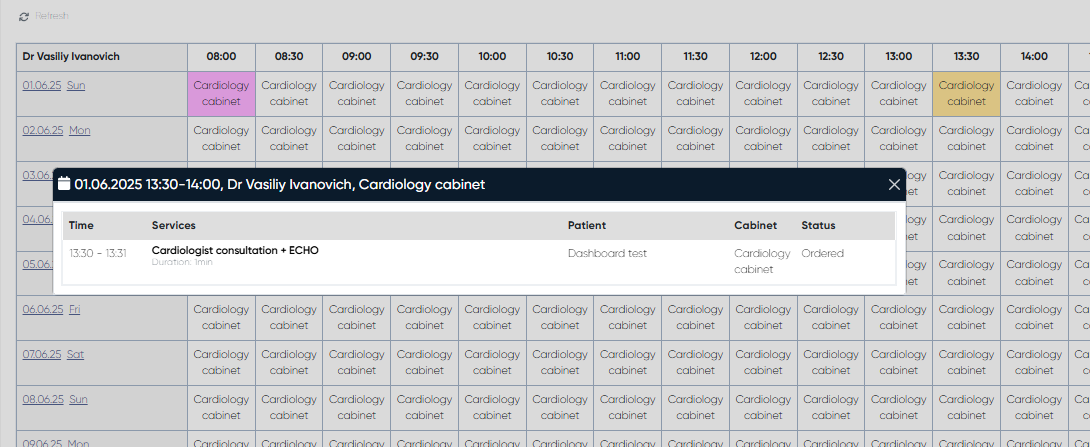
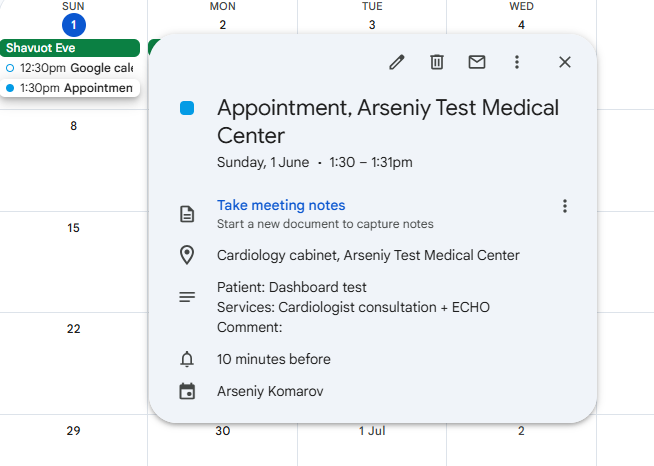
When the synchronization is complete, the doctor can view his scheduled appointments via the Alpaca system in his own Google calendar.
Configuration Requirements
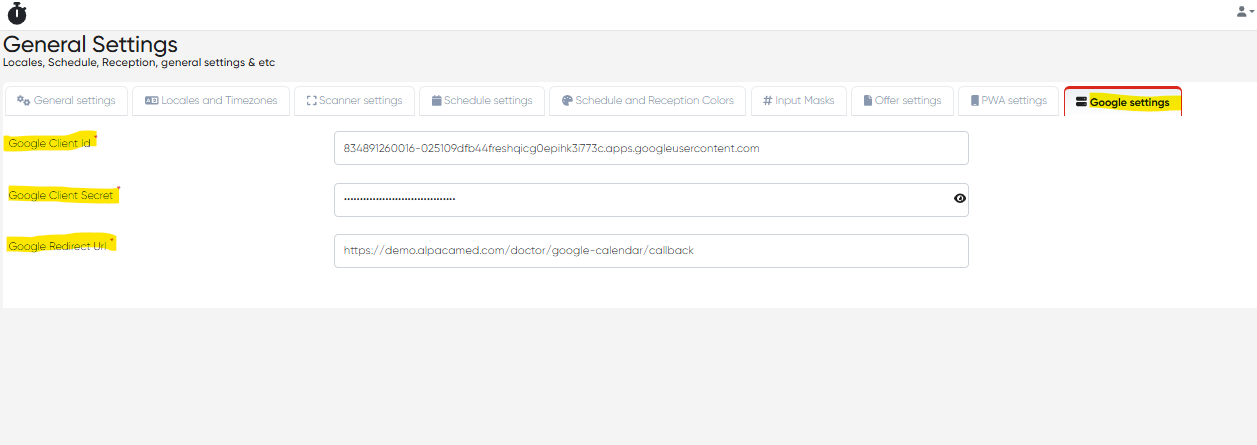
Navigation: Main Screen> Settings>General Settings>Google Settings
To activate the integration, system administrators must configure the following Google API credentials:
Google Client ID
A unique identifier for your app, provided by Google when you create a new OAuth 2.0 credential.Google Client Secret
A secure key that pairs with the Client ID to authenticate your application.Google Redirect URL
The URL in your system to which Google will redirect users after they grant calendar access (e.g.,https://yourdomain.com/oauth2/callback).
These values are mandatory and must match what is defined in your Google Developer Console project.
How to Obtain Google Credentials
Go to the Google Cloud Console.
Create a new project or use an existing one.
Navigate to APIs & Services > OAuth consent screen, and configure the consent screen (application name, support email, etc.).
Go to Credentials > Create Credentials > OAuth Client ID.
Select Web application as the application type.
Under Authorized redirect URIs, enter your system’s redirect URL.
After saving, you’ll receive your Client ID and Client Secret.
Where to Enter These in the System
In your clinic management system:
Go to Settings > General settings> Google Settings.
Enter the Client ID, Client Secret, and Redirect URL provided by Google.
Save the settings.
Once configured, doctors can go to their Doctor’s Cabinet > Profile > Google Calendar Sync to authorize the connection and begin syncing their schedules.