
Doctor's cabinet
Overview
The Doctor's Cabinet is a personal workspace for the doctors in the clinic system. Here you can easily view the schedule, check patient appointments, access medical records, write notes, manage treatment plans, and access the salary information (this setting can be turned on/off for each doctor via Employee settings).
Navigation: Directories → Employees → Choose Employee → Actions → Open Doctor’s Cabinet
Medicine section
In this section, the doctor can view basic information about his patients, including previous and future appointments.
To open the patient’s card, it’s necessary to find the card via the Search bar on the right side of this screen.
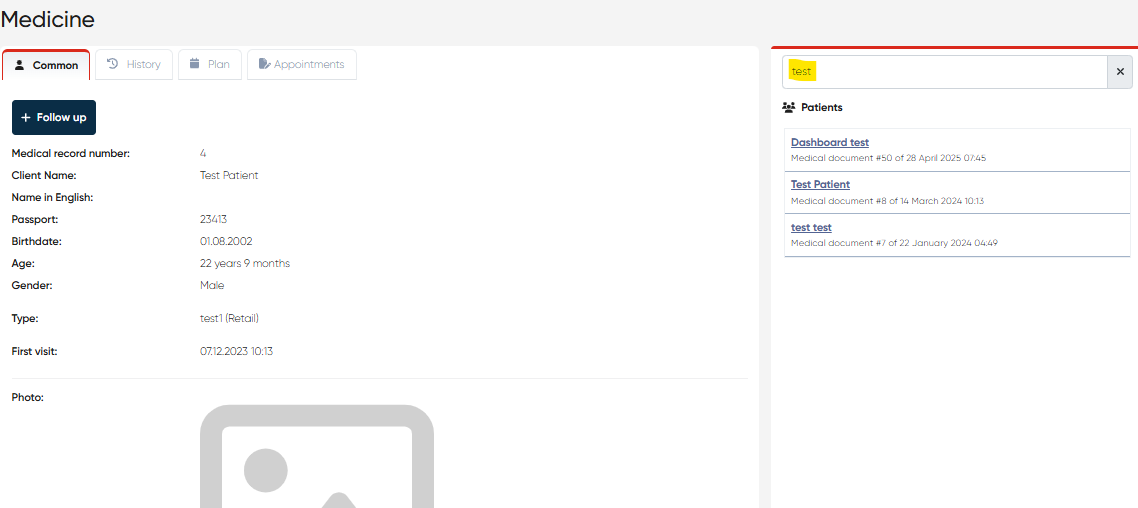
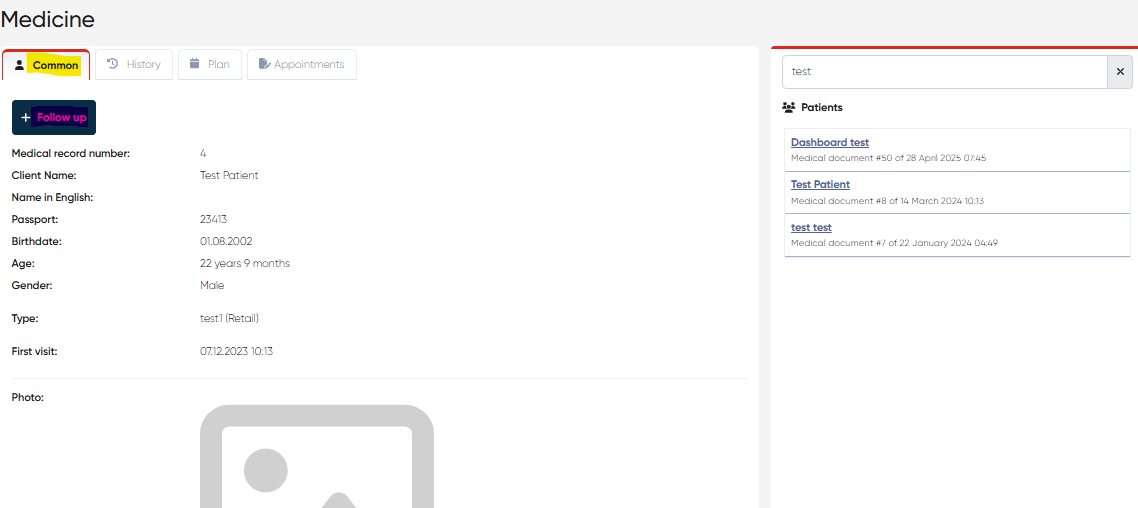
via the Common tab, you can view the basic patient’s information, like Name, Passport number, etc. Also, it’s possible to add a Follow-up comment for the next patient visit, which will be visible via the generated Medical Doc for this patient.
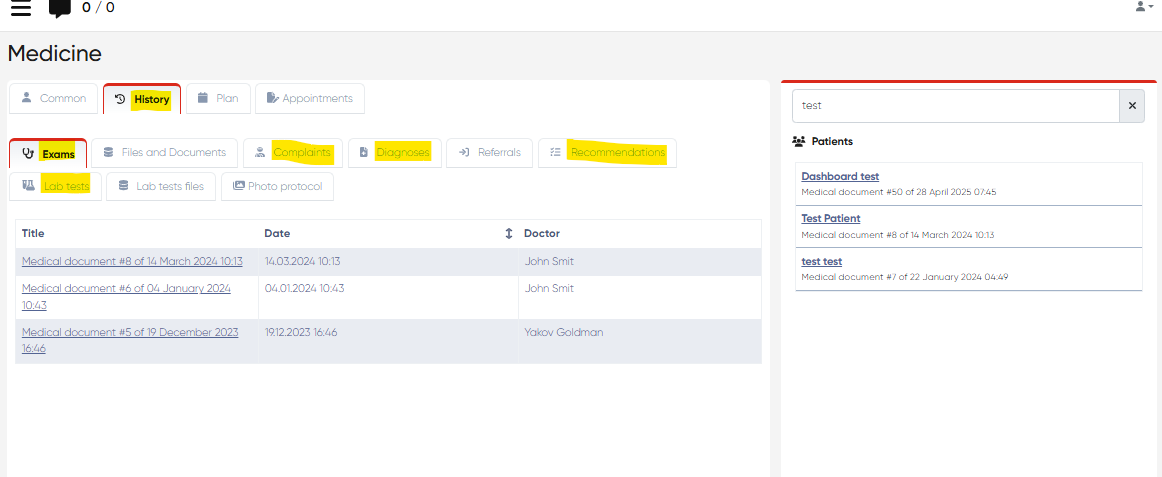
via the History tab, you can view all the patient’s medical history, including the information about Exams, Lab tests, Complaints, Diagnoses, previous Recommendations, etc.
via the Plan tab, you can view the future appointments for the patient if applicable.
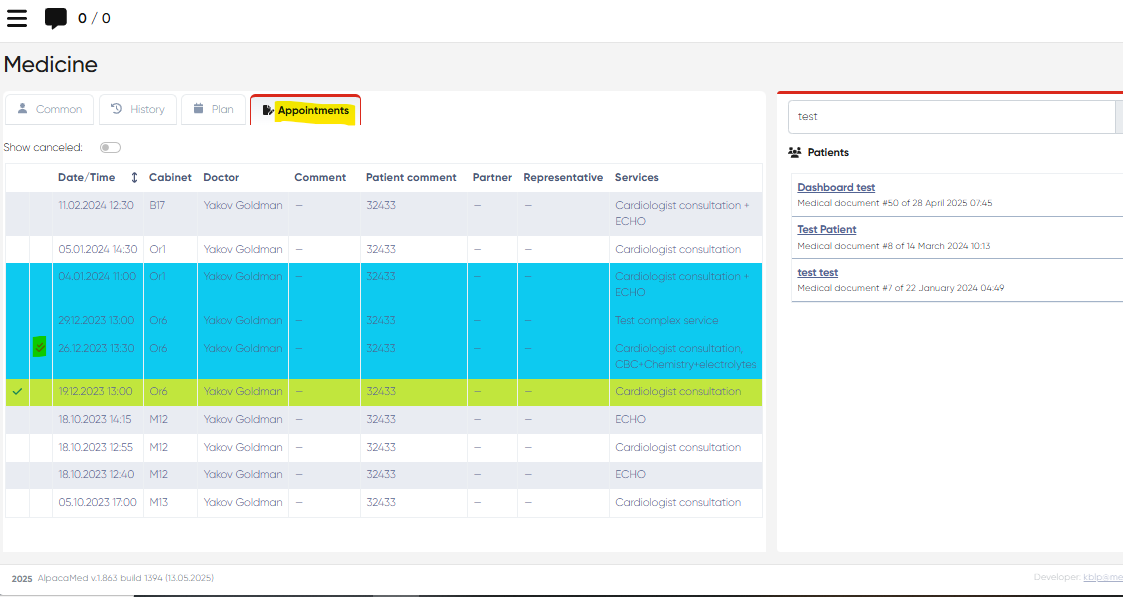
via the Appointments tab, you can view all the information regarding the patient’s previous appointments (including canceled if needed), paid visits marked blue here.
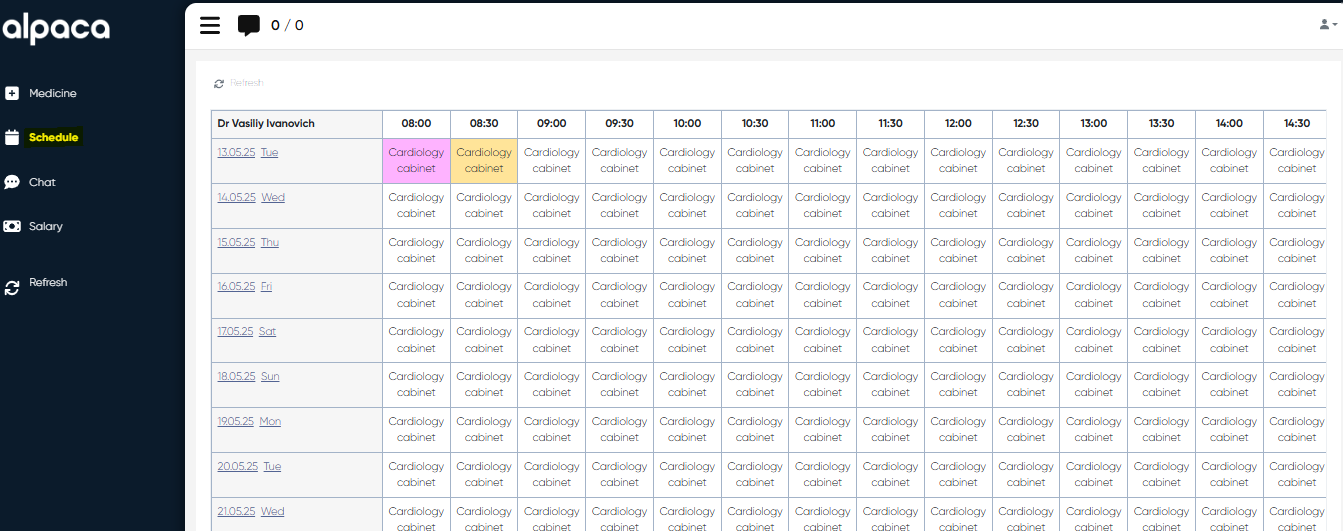
Schedule section
In this section, the doctor can view his full schedule, including reserved appointments (marked orange) and reserved slots without appointments (marked purple).
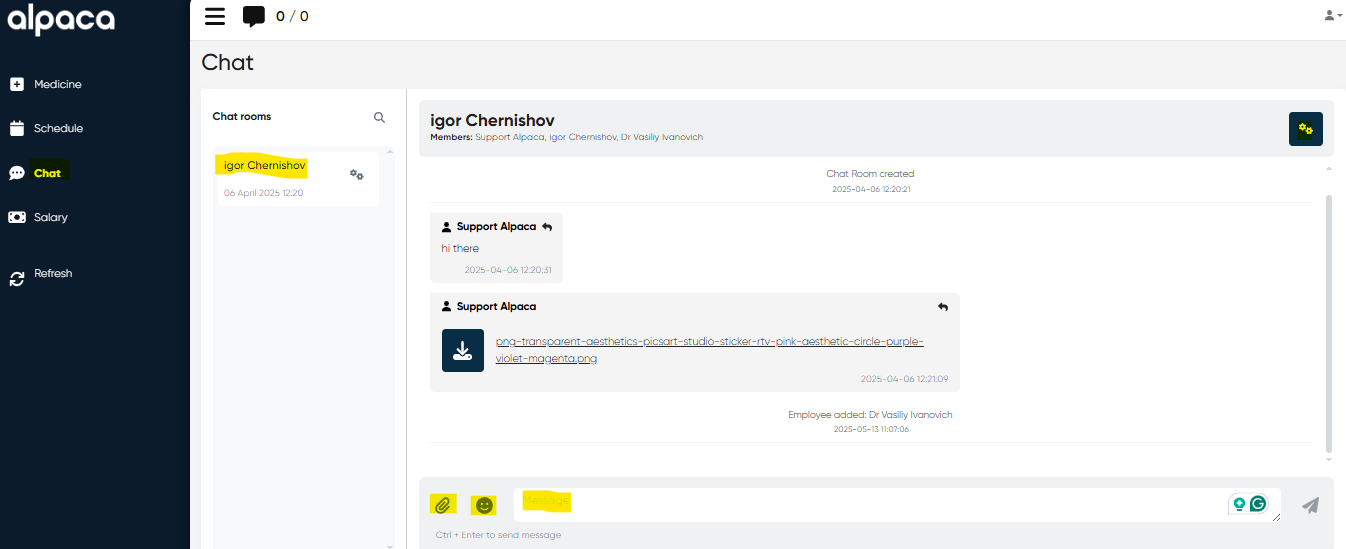
Chat section
In the Chat section, the doctor can view existing dialogues with patients, enter new messages, add members to the existing chats, add emojis to messages, attach files, etc.
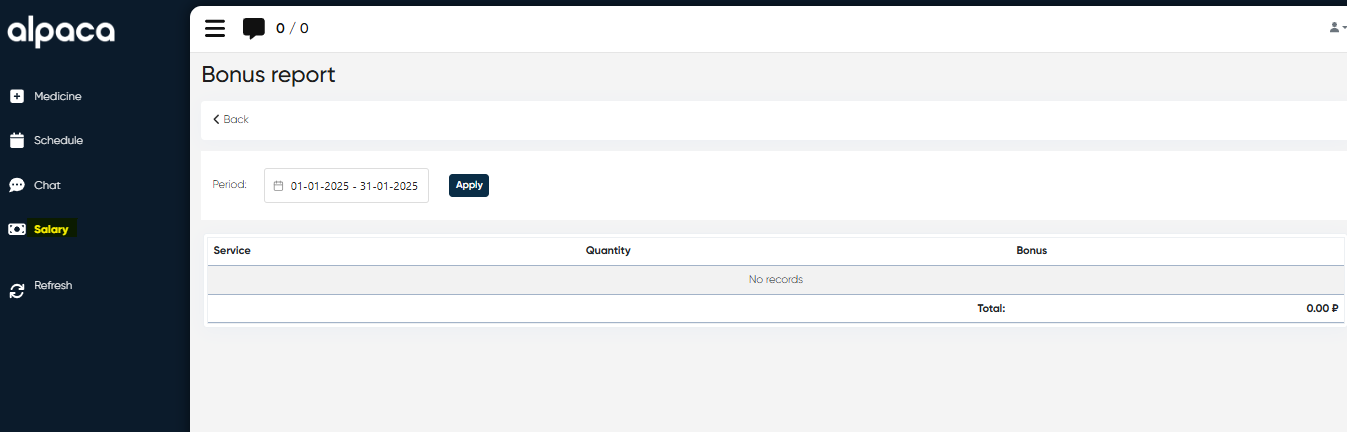
Salary section
This section is optional, and here the doctor can view all his payments and bonuses. This section for the doctor’s cabinet can be turned off as follows: Directories>Employees>Choose doctor by name>Actions>Edit>Show salary in Cabinet (Yes/No).
Additional options
The doctor can refresh the cabinet page if needed by clicking
 the button on the left side of the cabinet screen.
If the doctor needs to exit the cabinet’s screen, it’s necessary to click
 the button on the upper right corner of the screen and then click the Exit button.
Additional features
1) Reserved Slot Comments in Doctor’s Cabinet
Navigation:Directories → Employees → Choose Doctor → Actions → Open Doctor’s Cabinet → Medicine → My Appointments
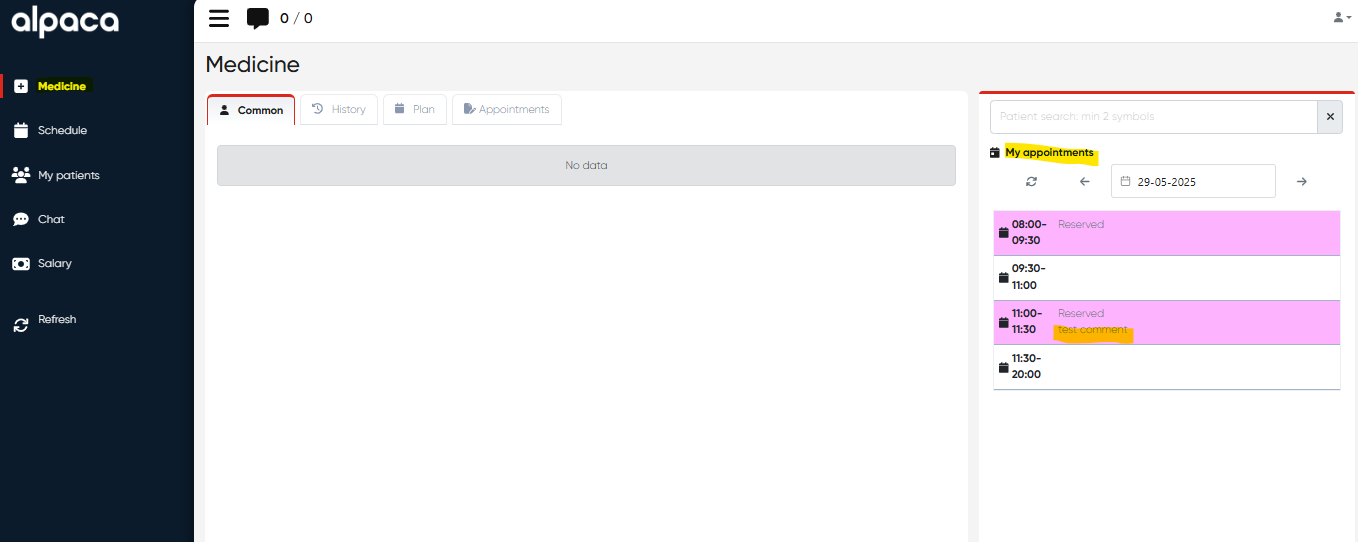
Overview
The Reserved Slot Comments feature enhances the doctor’s schedule management by displaying any comments attached to reserved time slots directly within the Doctor’s Cabinet view.
This update provides doctors with clear context for blocked or non-bookable times, improving transparency and communication between clinical and administrative staff.
Functionality
When an administrator or support staff reserves a time slot in the doctor’s schedule (for example, for meetings, maintenance, or administrative tasks) and adds a comment, that note is now visible in the doctor’s own calendar view inside the My Appointments section.
Doctors can quickly review why specific slots are unavailable, ensuring better day-to-day planning and avoiding scheduling conflicts.
How It Works
In the administrator’s or receptionist’s view, a time slot can be reserved with an optional comment.
The comment entered during the reservation is automatically stored with the slot details.
When the doctor opens Doctor’s Cabinet → Medicine → My Appointments, the reserved slot appears with the associated comment tooltip or label visible.
This allows the doctor to immediately understand the reason for any reserved time (e.g., “Meeting with management,” “Maintenance of ultrasound room,” “Break – unavailable”).
Benefits
Improved coordination between medical and administrative teams.
Full schedule transparency for doctors viewing their calendars.
Reduced scheduling errors by clearly marking reserved time reasons.
Notes
Comments are visible only for reserved slots and do not affect patient appointments.
Editing or removing the comment must be done from the administrator’s schedule management view.
Visibility respects user permissions — only users authorized to view the doctor’s schedule can see the notes.
2) Doctor’s Cabinet – Add MedDoc via Patient Search
Module: EHR → Doctor’s Cabinet
Navigation:Directories → Employees → [Choose Employee] → Actions → Open Doctor’s Cabinet → Medicine → Schedule
Overview
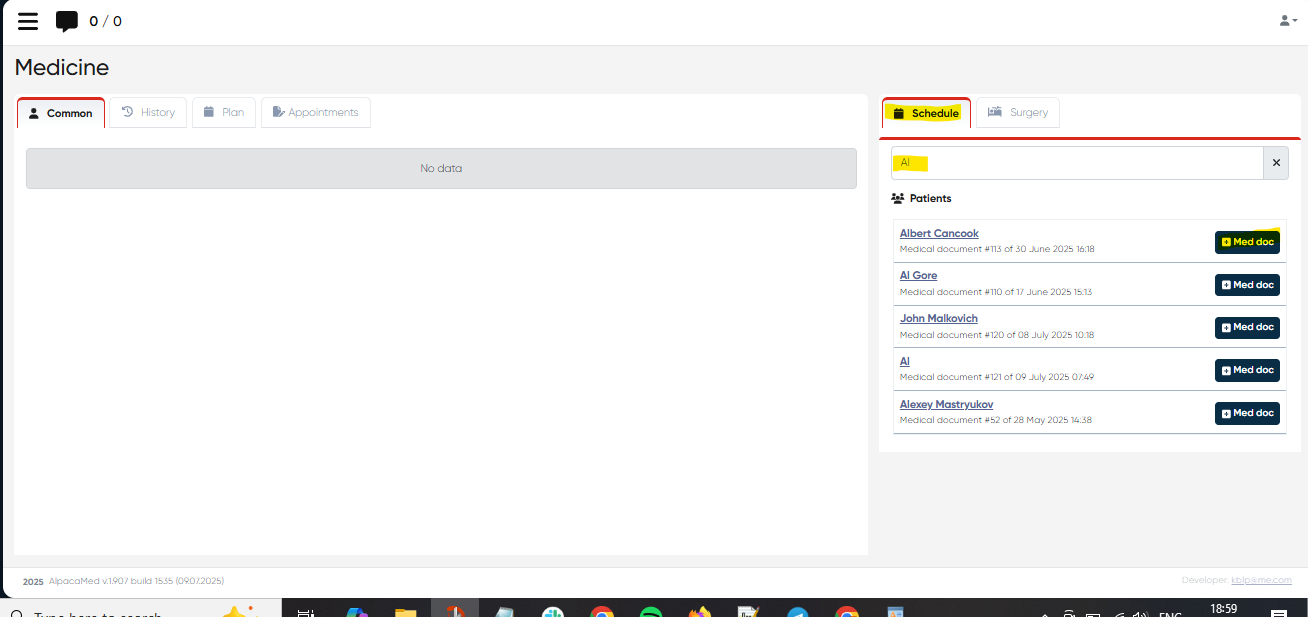
The Add MedDoc via Patient Search feature introduces a +MedDoc button next to each patient result in the Schedule tab of the Doctor’s Cabinet.
This enhancement allows doctors to create a new Medical Document (MedDoc) directly from the patient search results — eliminating extra navigation steps and improving documentation speed during consultations.
Functionality
When searching for a patient in the Schedule view of the Doctor’s Cabinet, each patient entry now displays a +MedDoc button.
By clicking this button, the system immediately opens a new Medical Document form for that patient, prefilled with the necessary contextual information (doctor, date, and patient details).
This feature helps physicians and clinical staff quickly initiate medical documentation during the appointment or follow-up without switching to other sections.
How to Use
Navigate to Directories → Employees.
Select the desired doctor and click Actions → Open Doctor’s Cabinet.
Go to Medicine → Schedule.
Use the Patient Search Bar to find the relevant patient.
Click the +MedDoc button next to the patient’s name.
A new Medical Document window will open, ready for entry.
Once saved, the new document becomes part of the patient’s record and is visible in both the Documents tab and the History section.
Benefits
Faster documentation — create MedDocs directly from the Schedule view.
Reduced navigation — no need to open the patient profile separately.
Improved workflow efficiency during consultations or patient follow-up.
Automatic data linkage — ensures the MedDoc is correctly connected to the doctor and patient.
Notes
Only users with access to the Doctor’s Cabinet can create MedDocs through this shortcut.
The +MedDoc button is visible only for patients currently assigned to the selected doctor.
All standard MedDoc templates and sections remain available when creating documents via this method.
The feature is also compatible with customized Medical Document tabs (e.g., Psychiatry, Follow-Up).
3) Mobile Scheduling Support
Navigation:Main Menu → Doctor’s Cabinet (Mobile Version)
Overview
The Mobile Scheduling Support enhancement extends the functionality of the Doctor’s Cabinet to the mobile interface of the Alpaca system.
Doctors can now create, edit, and manage appointments directly from their mobile devices, ensuring full scheduling flexibility outside of the desktop environment.
Functionality
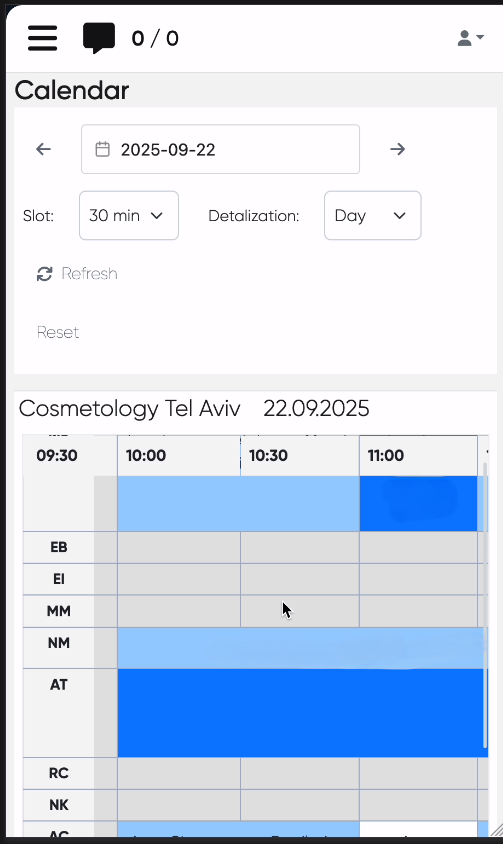
Optimized mobile interface for the Schedule view.
Ability to add, modify, and cancel appointments from smartphones or tablets.
Access to patient details and appointment information directly within the mobile interface.
Changes made on mobile are synchronized in real time with the main system calendar.
Navigation
Log in to the Alpaca system on your mobile device.
Open the Doctor’s Cabinet from the main menu.
Go to the Schedule section.
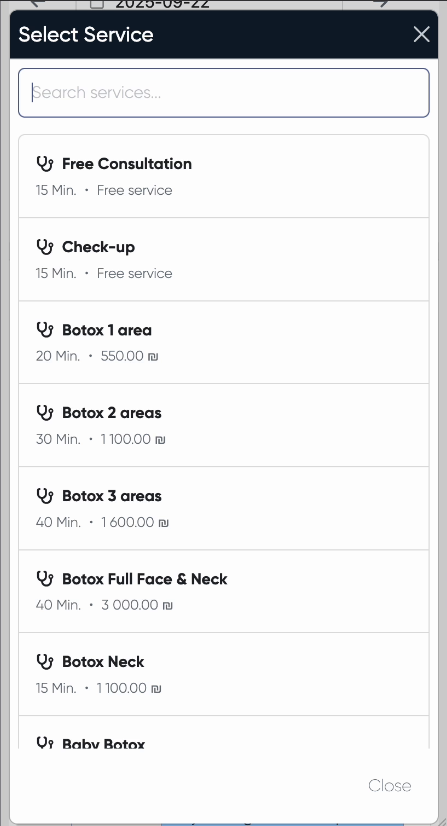
Tap any available slot to create a new appointment or edit an existing one.
Notes
The feature is available to all users with access to the Doctor’s Cabinet module.
Works across all major mobile browsers and responsive system views.
Requires an active internet connection for synchronization.