
Deposits
The Deposits feature in the Reception module allows clinics to accept and manage prepayments from clients using the General Payments Module. Funds can be added to a client’s deposit and later applied toward services, offering flexible and streamlined financial handling at the front desk.
Enabling Deposits Functionality
To activate deposit support in the system:
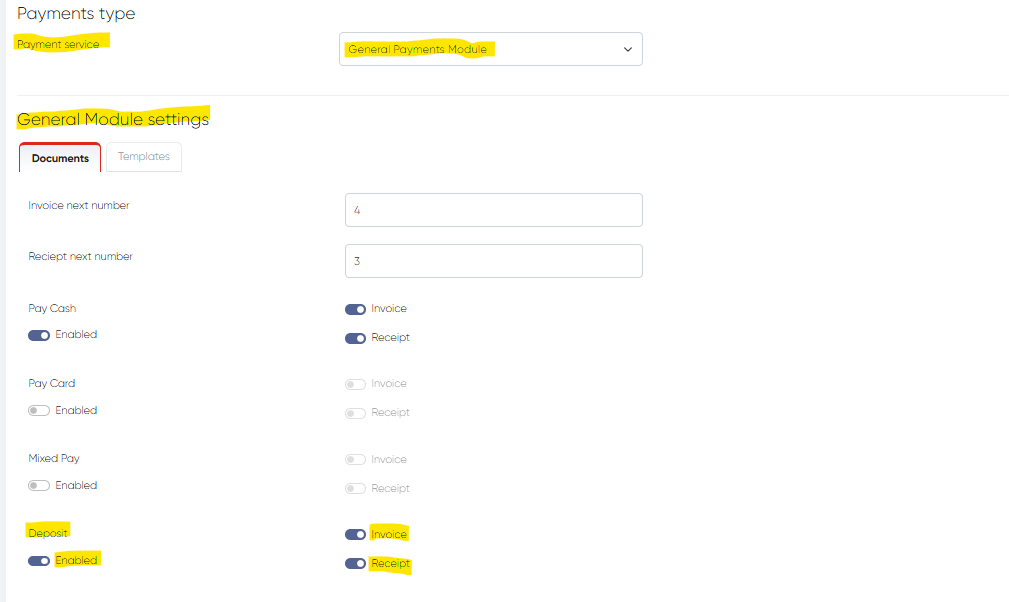
Navigate to Settings > Cashier Settings.
Under the Payment Service bar, select General Payments Module.
Go to General Module Settings > Deposit.
Enable the deposit option.
You can also configure automatic invoice and receipt generation for deposits here.
Once enabled, deposit handling becomes available via the client’s contact card and the Reception payment window.
Adding Funds to a Client’s Deposit
To add money to a client's deposit:
Open the Reception module and locate the desired appointment.
Click the client’s name to open their Contact Card.
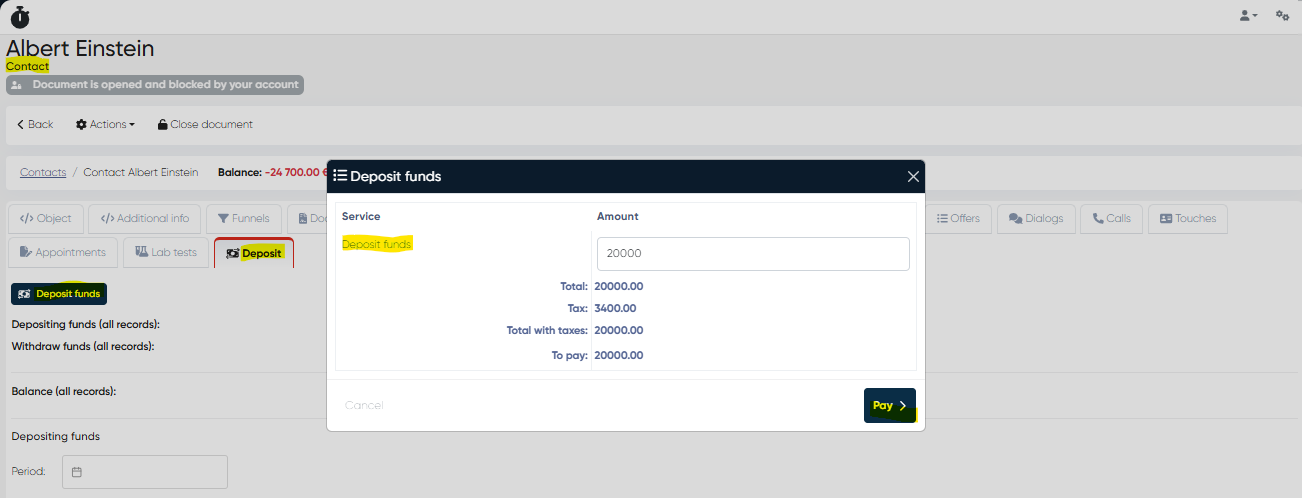
Go to the Deposit tab.
Click the Deposit Funds button.
Enter the deposit amount.
Click Pay. In the new payment window:
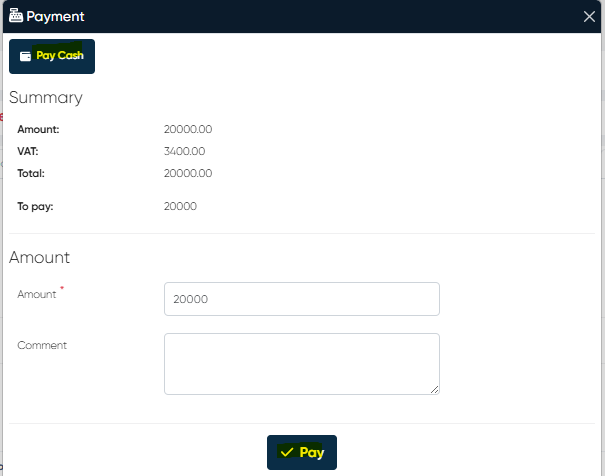
Choose the payment method (e.g., Cash, Credit Card, etc.).
Confirm by clicking Pay again.
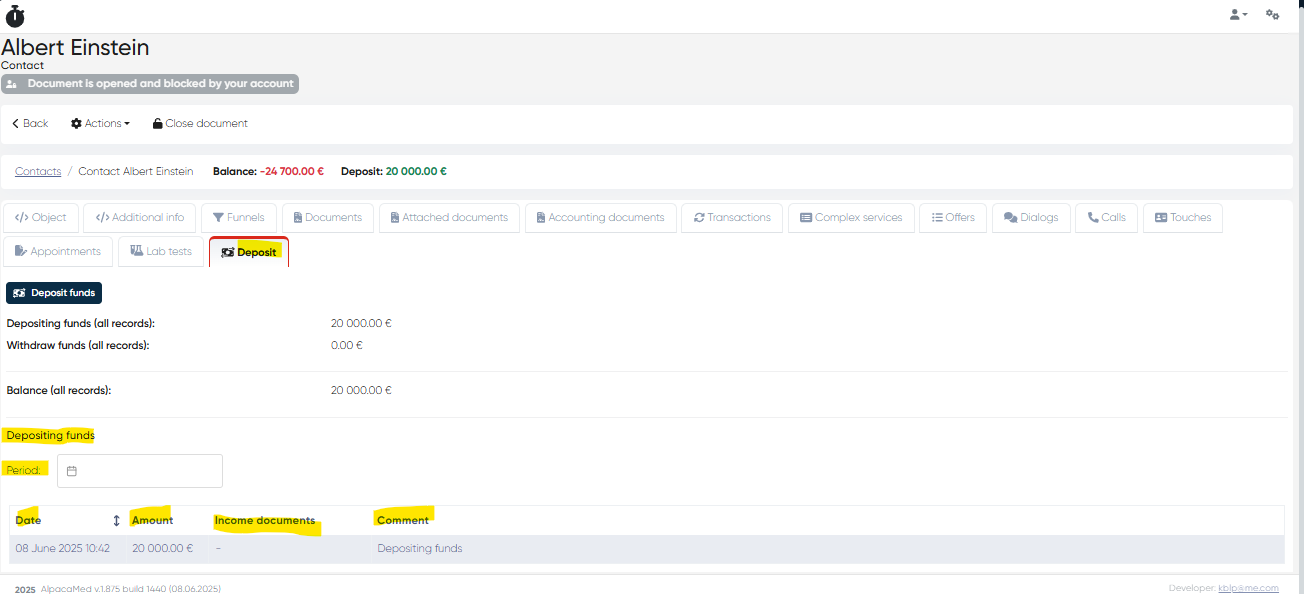
The deposited amount is now saved under the client’s Deposit tab for future use.
Using Deposit for Service Payments
To apply deposit funds when paying for a service:
Go to the Reception > Schedule tab.
Locate the appointment for the checked-in client and click the Pay button.
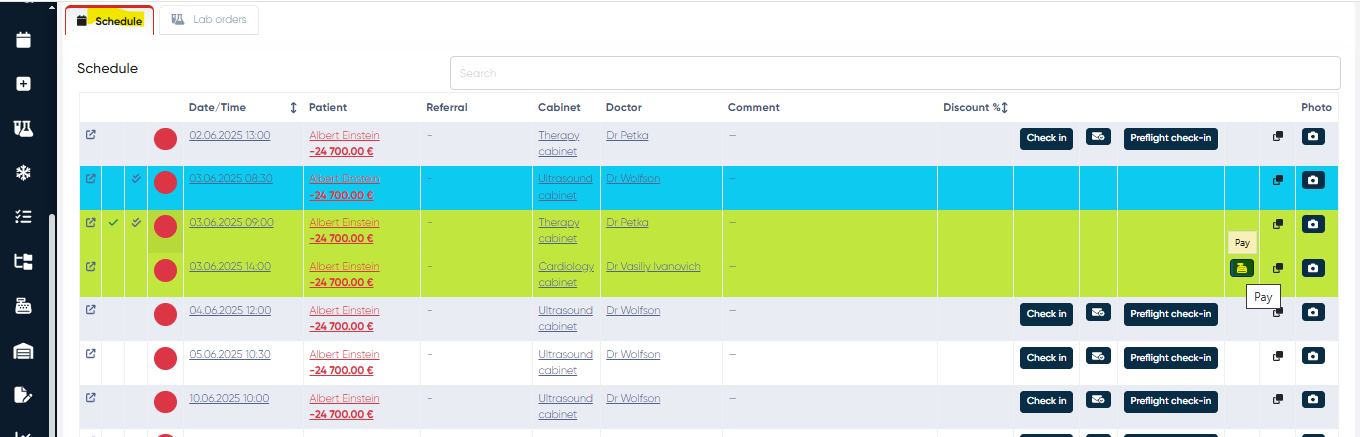
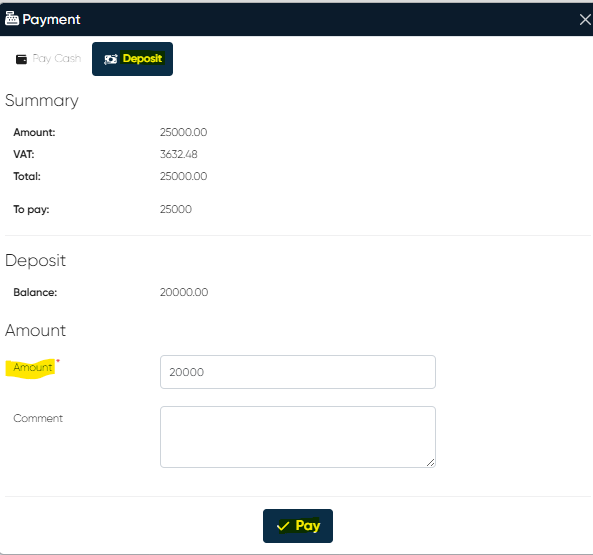
In the Payment Window, select the Deposit tab.
Choose the amount to use from the available deposit.
Click Pay to complete the transaction.
The system will deduct the specified amount from the client’s deposit and mark the appointment as Paid (visually indicated in green, by default).
This functionality reduces manual work, ensures better tracking of prepaid balances, and enhances client convenience by allowing flexible use of funds.