
Alpaca's Chat & Group chat
How to use chats
Clinics can use the chat function for quick and efficient internal communication between staff members. Doctors, nurses, and administrators can exchange messages in real time
Design
Instructions
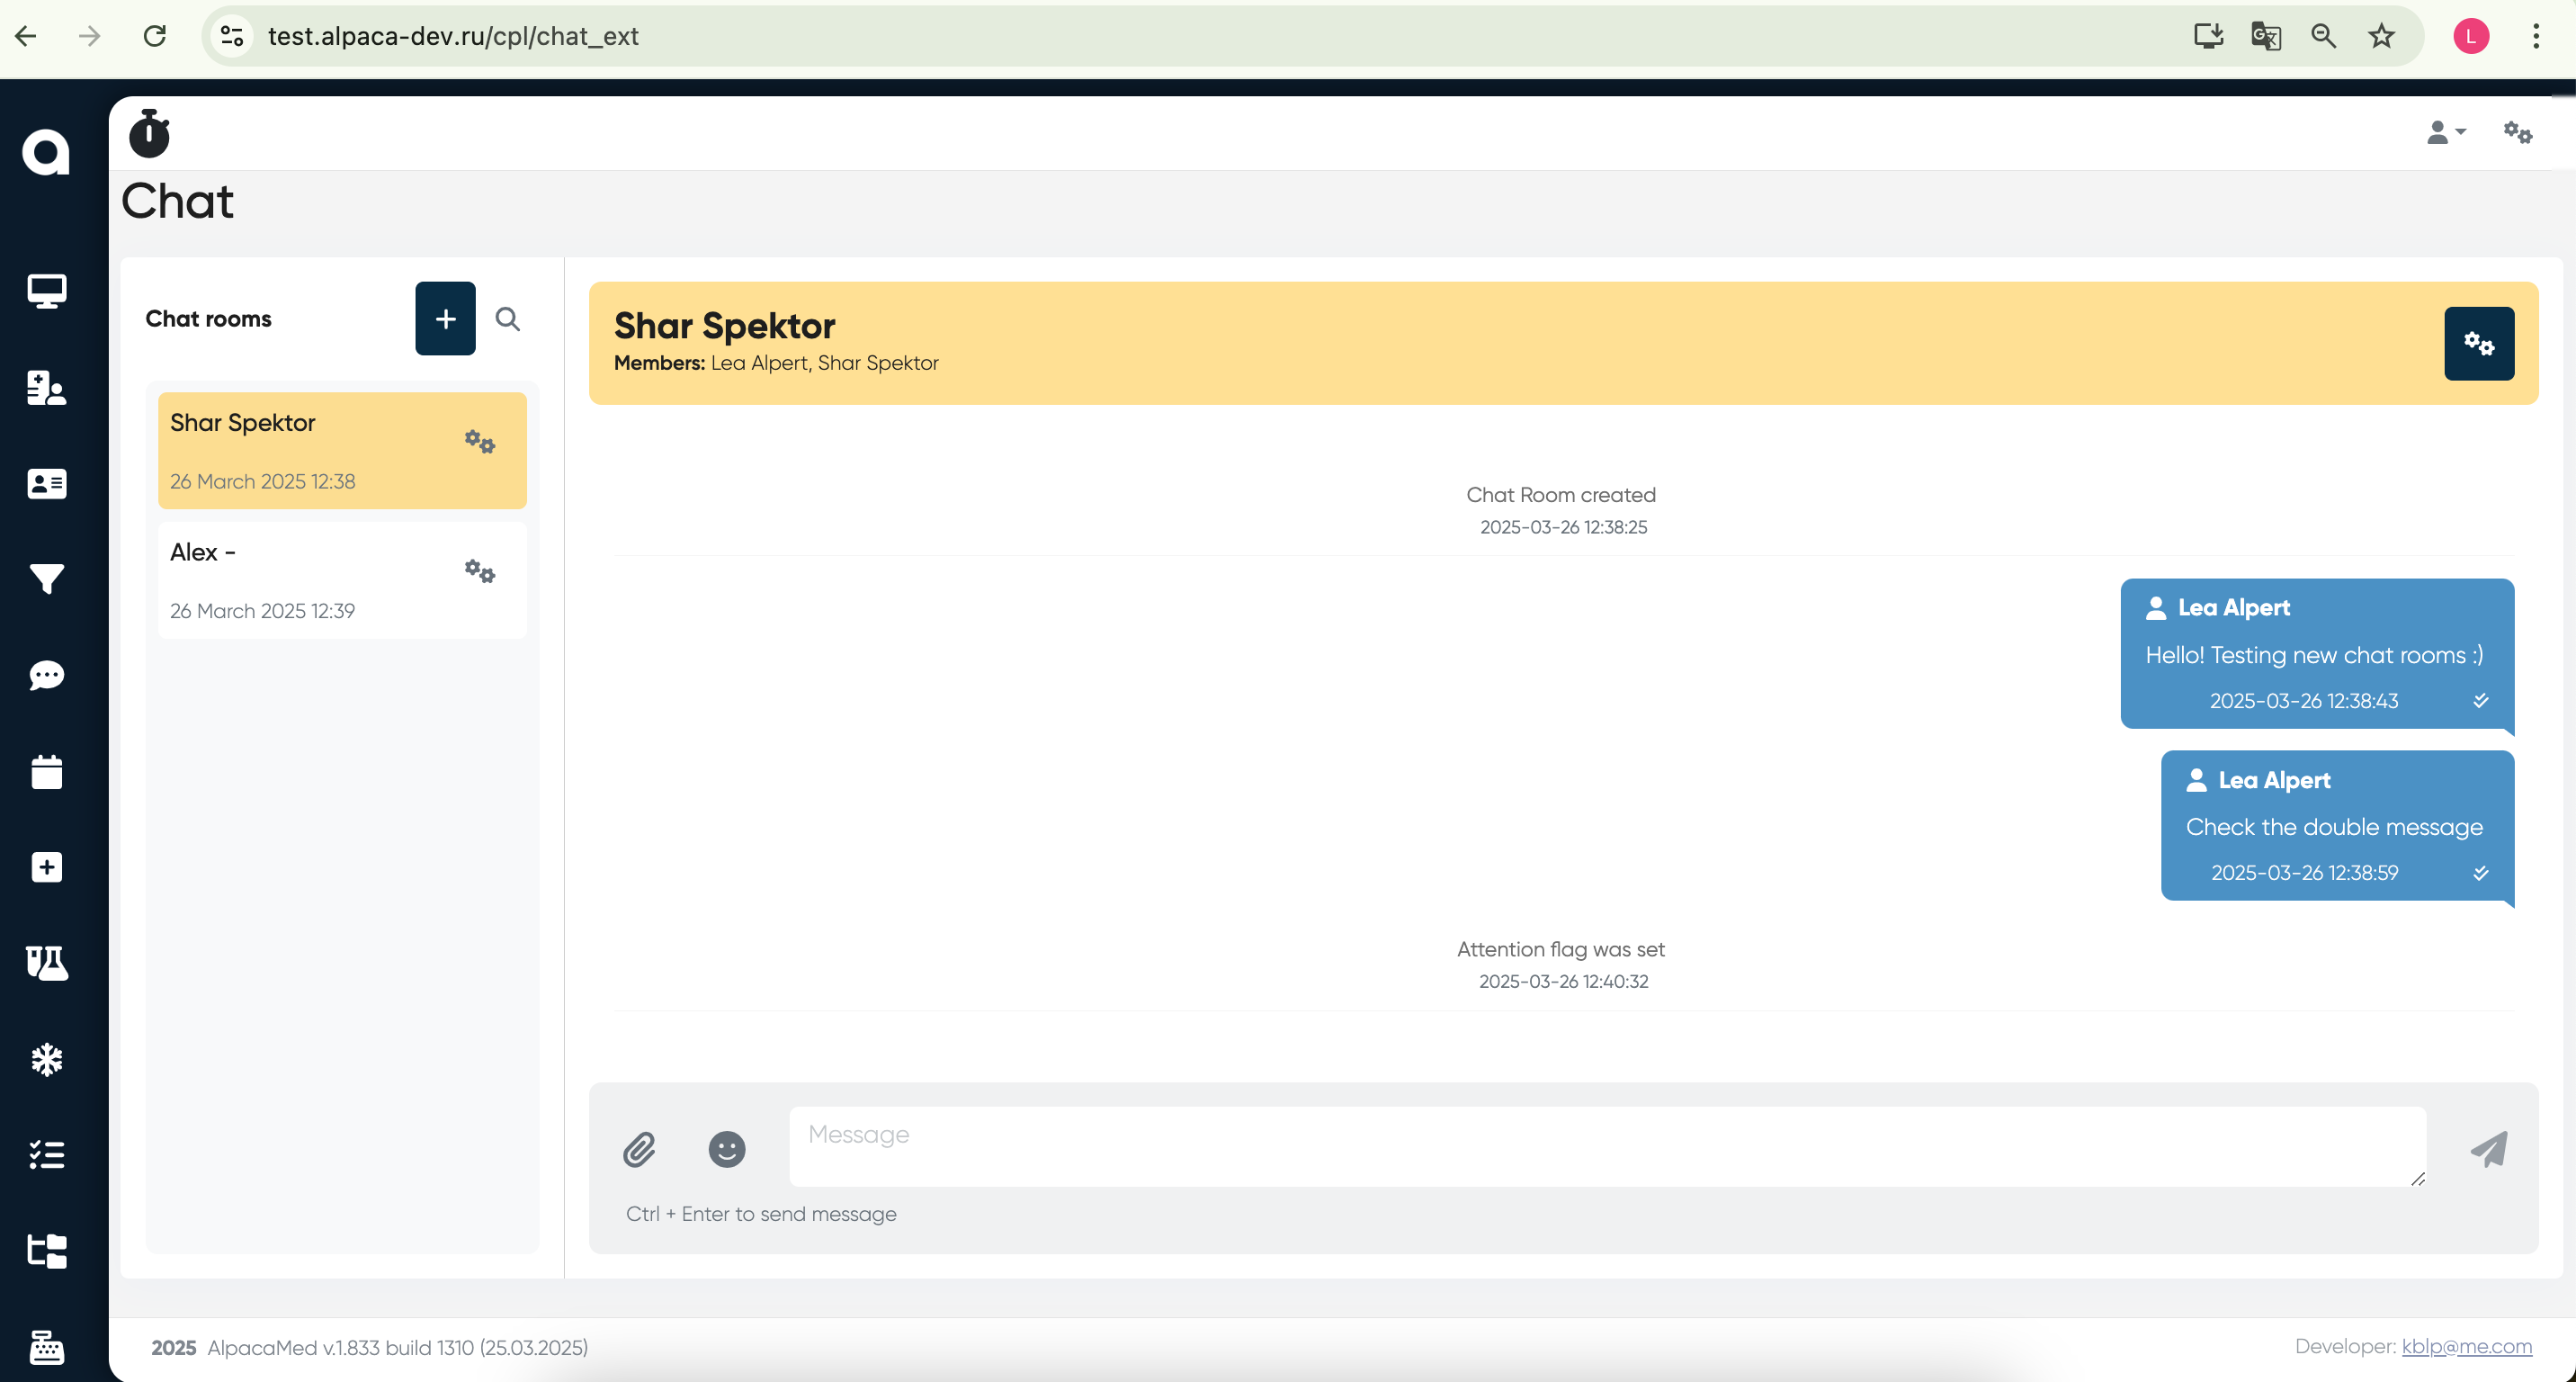
1. Accessing the Chat
Navigate to the chat section by clicking the chat icon on the left sidebar.
The screen will display available chat rooms on the left and the selected chat on the right.
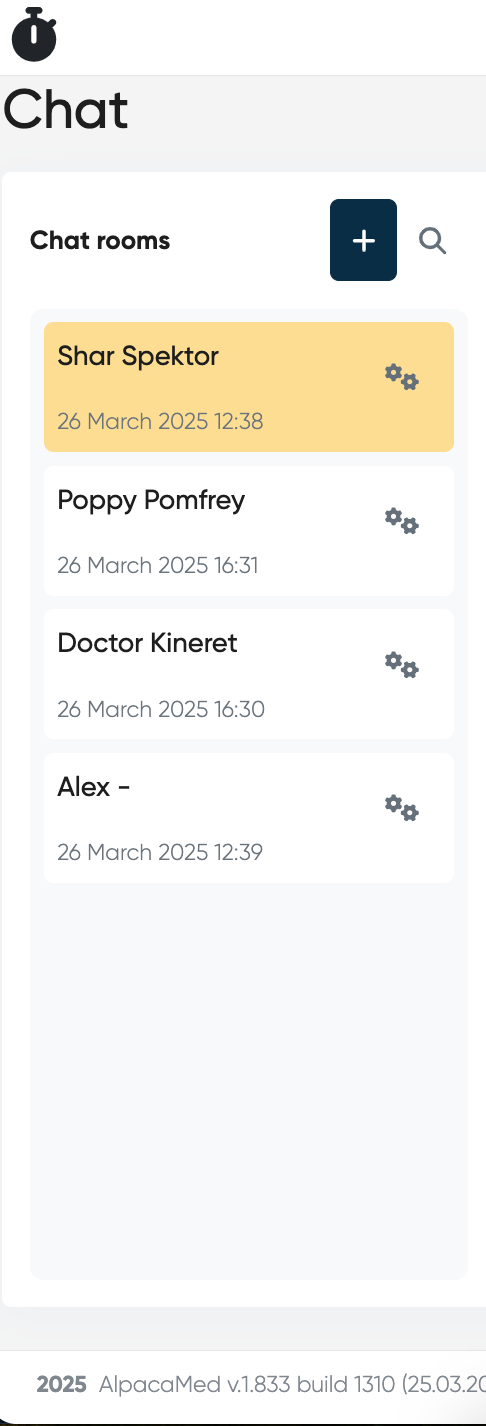
2. Creating a New Chat Room
Click the "+" button in the "Chat rooms" panel.
Choose one of options (chat with employee, chat with administrator…)
Choose administrator or employee.
Chat is created!
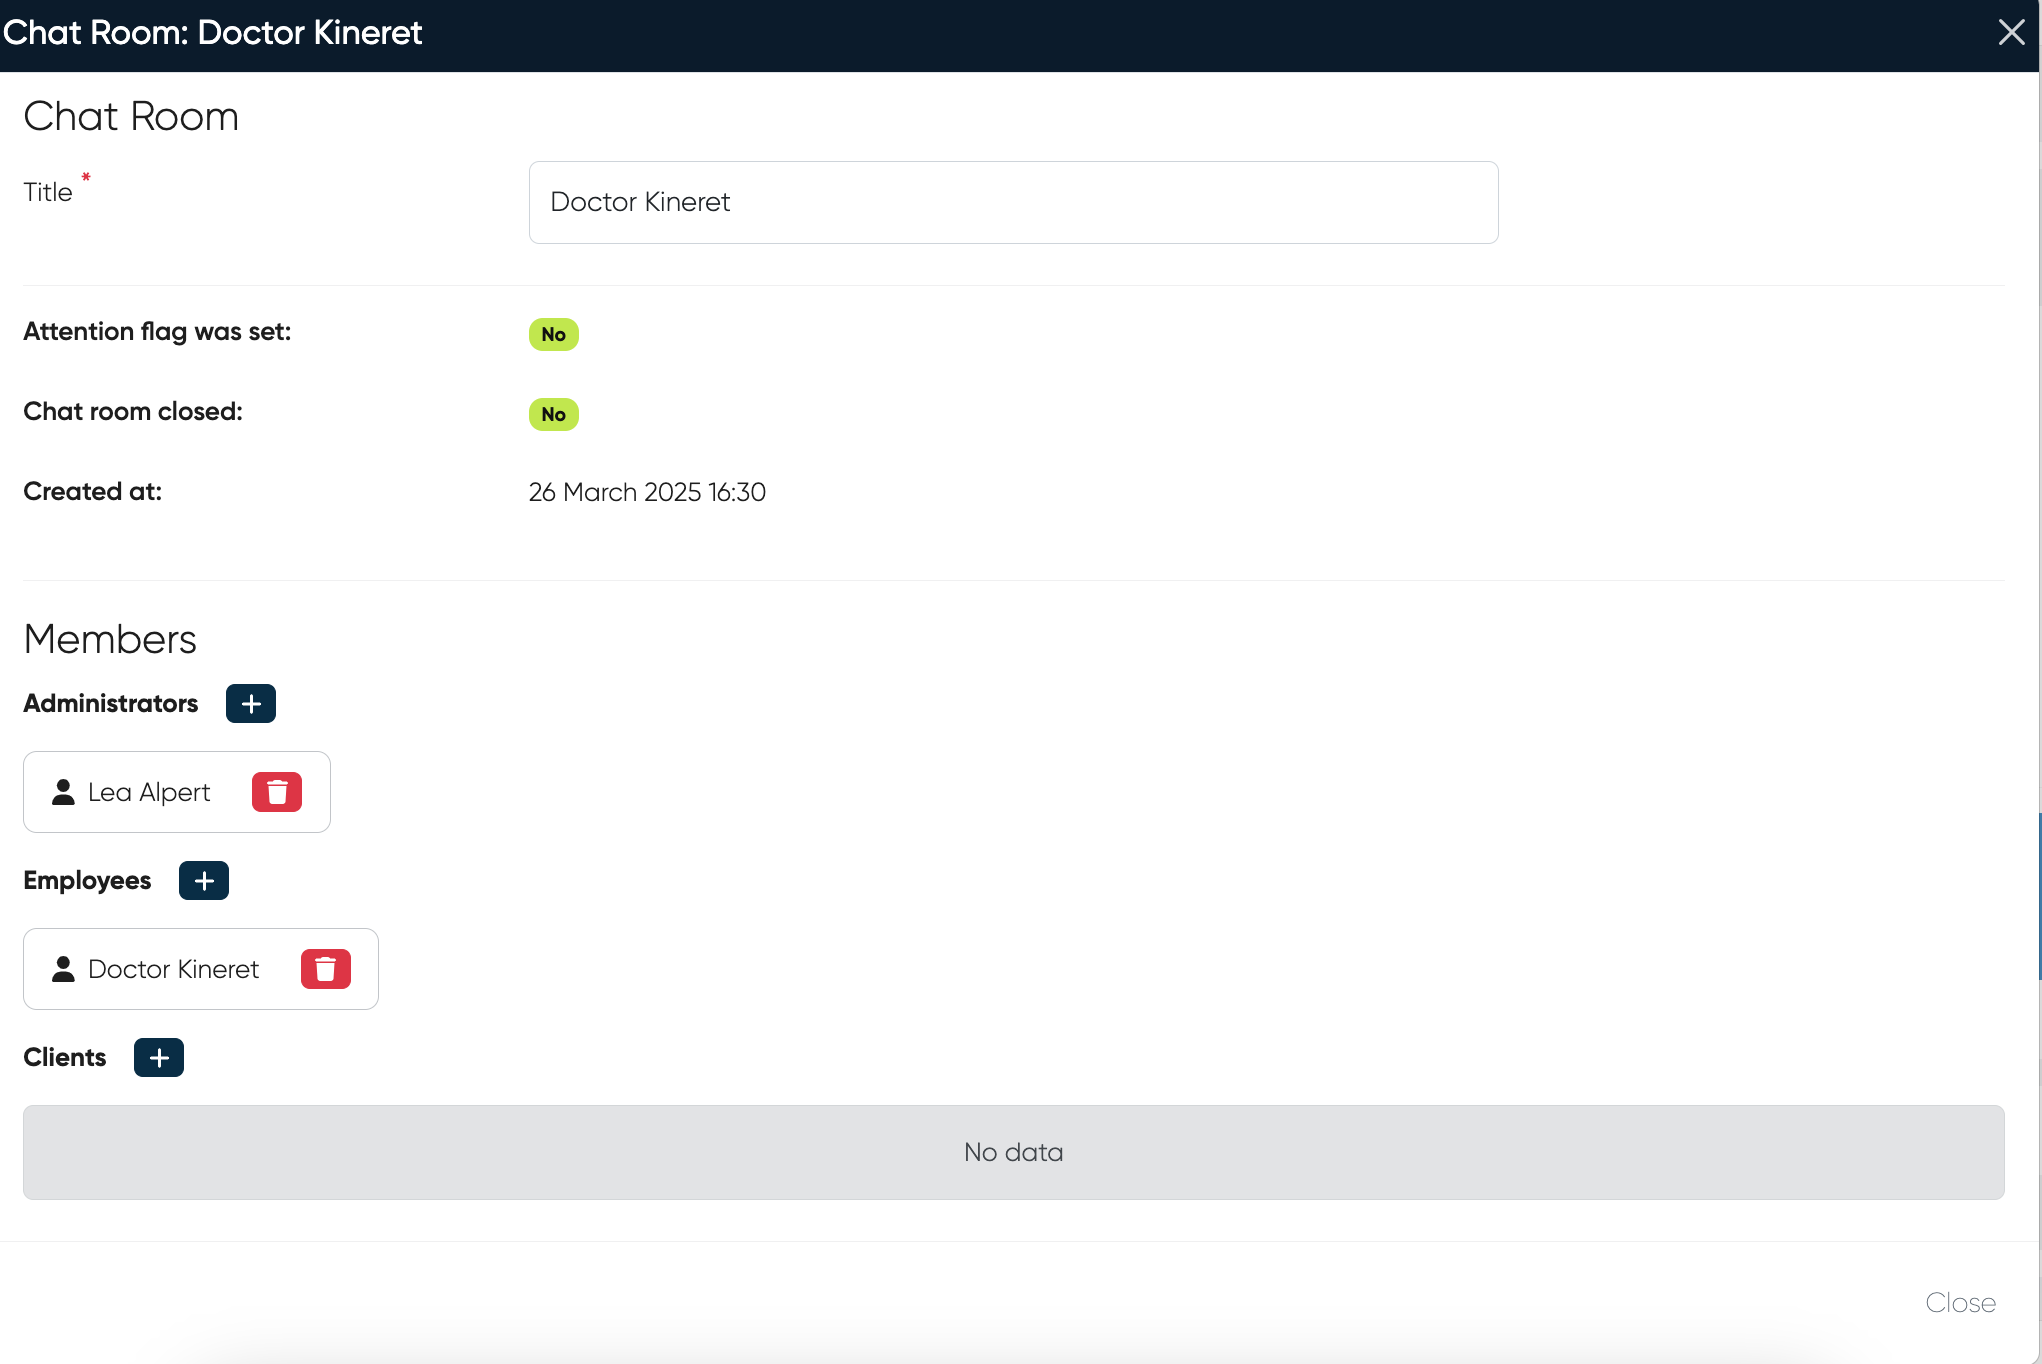
If you want, you can add more members (just click to the settings icon and choose (Add employee or add administrator button)
3. Sending a Message
Click on an existing chat room to open it.
Type your message in the text box at the bottom.
Press Ctrl + Enter to send the message or click the icon of “paper airplane“.
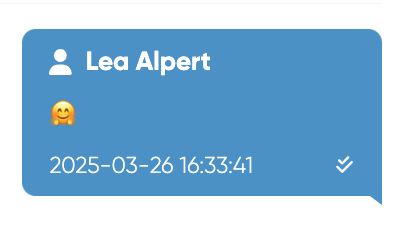
It’s also possible to use emoji (click on emoji icon to choose)
It’s also possible to attach file (click on the clip icon to choose file from your computer)
Messages appear in blue bubbles with a timestamp.
4. Chat settings
Click on the settings button on the left list of chats
In settings there is an opportunity to change name of the chat, check the creation date and add members.
Technical Specification
Screen Elements
Chat Room List Panel
Displays a list of chat rooms with timestamps.
Includes a search bar and a button to create a new chat.
Chat Window (Main Panel)
Displays selected chat messages.
Messages are color-coded with timestamps and sender names.
Message Input Area (Bottom Panel)
Text input field with file attachment and emoji options.
Send button with shortcut key (Ctrl + Enter).
Functional Features
Chat Room Management
Users can create new chat rooms.
Users can add/remove members.
Messaging System
Supports real-time messaging.
Message status indicators
 .
.
File & Emoji Support
Allows file attachments.
Supports emoji selection.
Chat Groups
Navigation:
Chat Group Management:
Directories → Chat GroupsAssign Groups to Patients:
Directories → Contacts → Patient Card → Additional Info Tab → Chat Groups → +AddGroup Messaging:
Main Menu → Chat → “+” → Send to Groups
Overview
The Chat Groups functionality introduces a structured way to manage and communicate with predefined groups of patients directly within the Alpaca system.
Clinics can now create dedicated chat groups, assign patients to them, and send group messages — improving coordination, engagement, and communication efficiency.
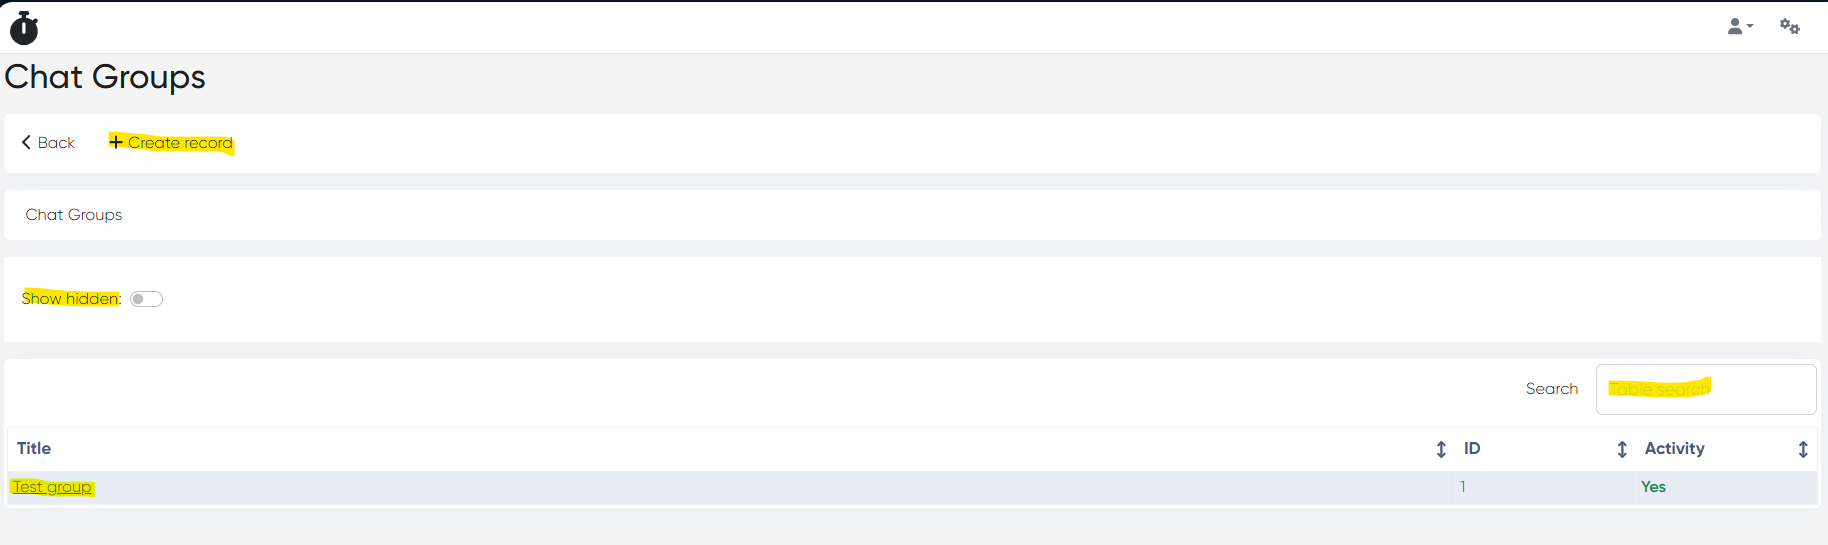
1. Chat Group Directories & Cards
Navigation: Directories → Chat Groups
This section allows administrators to create and maintain a list of chat groups used across the CRM and communication modules.
Available Actions:
+ Create Record – Add a new chat group.
Search Bar – Find existing groups quickly.
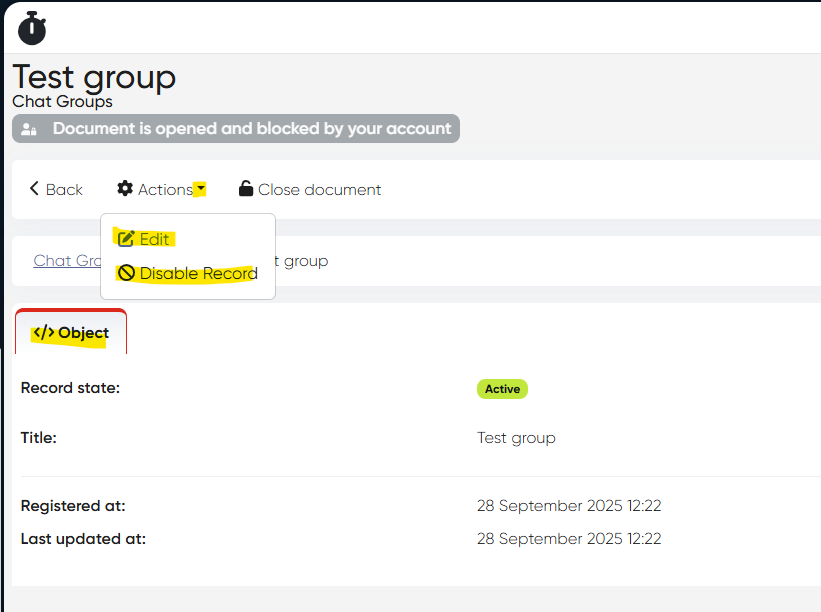
Edit – Update group name or properties.
Hide / Unhide – Control visibility of inactive groups.
2. Assign Chat Groups to Clients
Navigation: Directories → Contacts → Patient Card → Additional Info Tab → Chat Groups → +Add
You can assign one or more Chat Groups to a patient directly from their Patient Card.
Assigned groups are displayed with a group icon and a delete option for easy management.

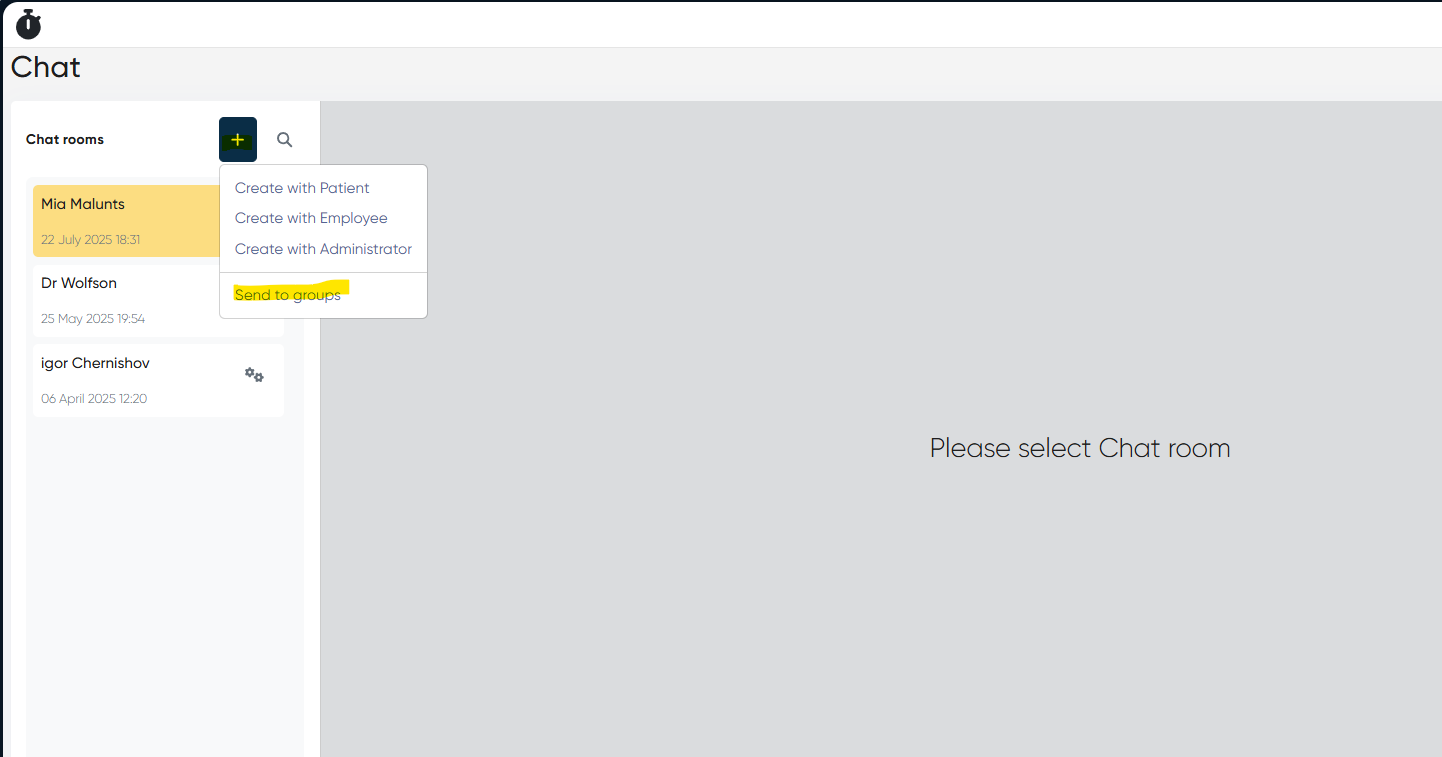
3. Group Messaging
Navigation: Main Menu → Chat → “+” → Send to Groups
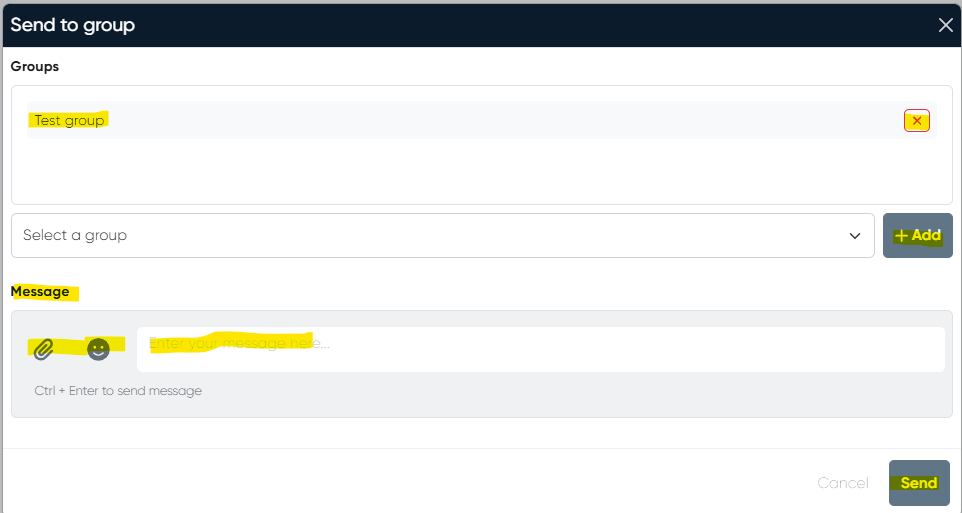
Users can now send messages to all members of a predefined chat group simultaneously.
Messages support:
Text communication
File attachments
Emojis and media
This makes it easy to share updates, reminders, or informational content with multiple patients at once.
Notes
Only authorized users with access to the Chat or CRM module can send group messages.
Groups must be created in Directories → Chat Groups before they appear in the Chat interface.
Messages sent to groups are delivered to all active members in real time.
Patient removal from a group immediately revokes access to ongoing group chats.